 Route Editor

| Guide | ♦ | 10 Triplogs | 2 Topics |
details | drive | permit | forecast | map |
stats |
photos | triplogs | topics | location |
| 549 | 10 | 2 |
A more challenging way to the top. by Jim The MR begins at the Whitney Portal trailhead at the end of Whitney Portal Road. Initially, the MR and the main trail are the same. After about 1 mile, the trail will come to a crossing over the North Fork of Lone Pine Creek. There will be a waterfall on the creek just above the main trail, and immediately before this fall and crossing the MR will break off and climb steeply uphill and to the right. After a short distance, you will encounter some signage telling you that you are not on the Whitney Trail. Continue on the trail as it climbs with the steep switchbacks through the Jeffrey pines and white firs to the crossing over the North Fork of Lone Pine Creek. This crossing may be difficult when water flow is high, but is very easy when the flow has diminished in later summer. After the crossing, you will once again climb steeply up switchbacks for about 3/4 of a mile. You will hike through alder, mixed pine, bush chinkapin, and finally shrub willow that grows along the higher reaches of this section of trail and the creek. You will again cross the creek, and then climb a section of very steep and rocky trail. At the top of this section, it may appear that you are about to hike on the creek, but you do not. Instead, you will head up to the Ebersbacher Ledge, also known simply as the Ledges.
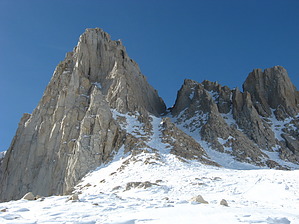
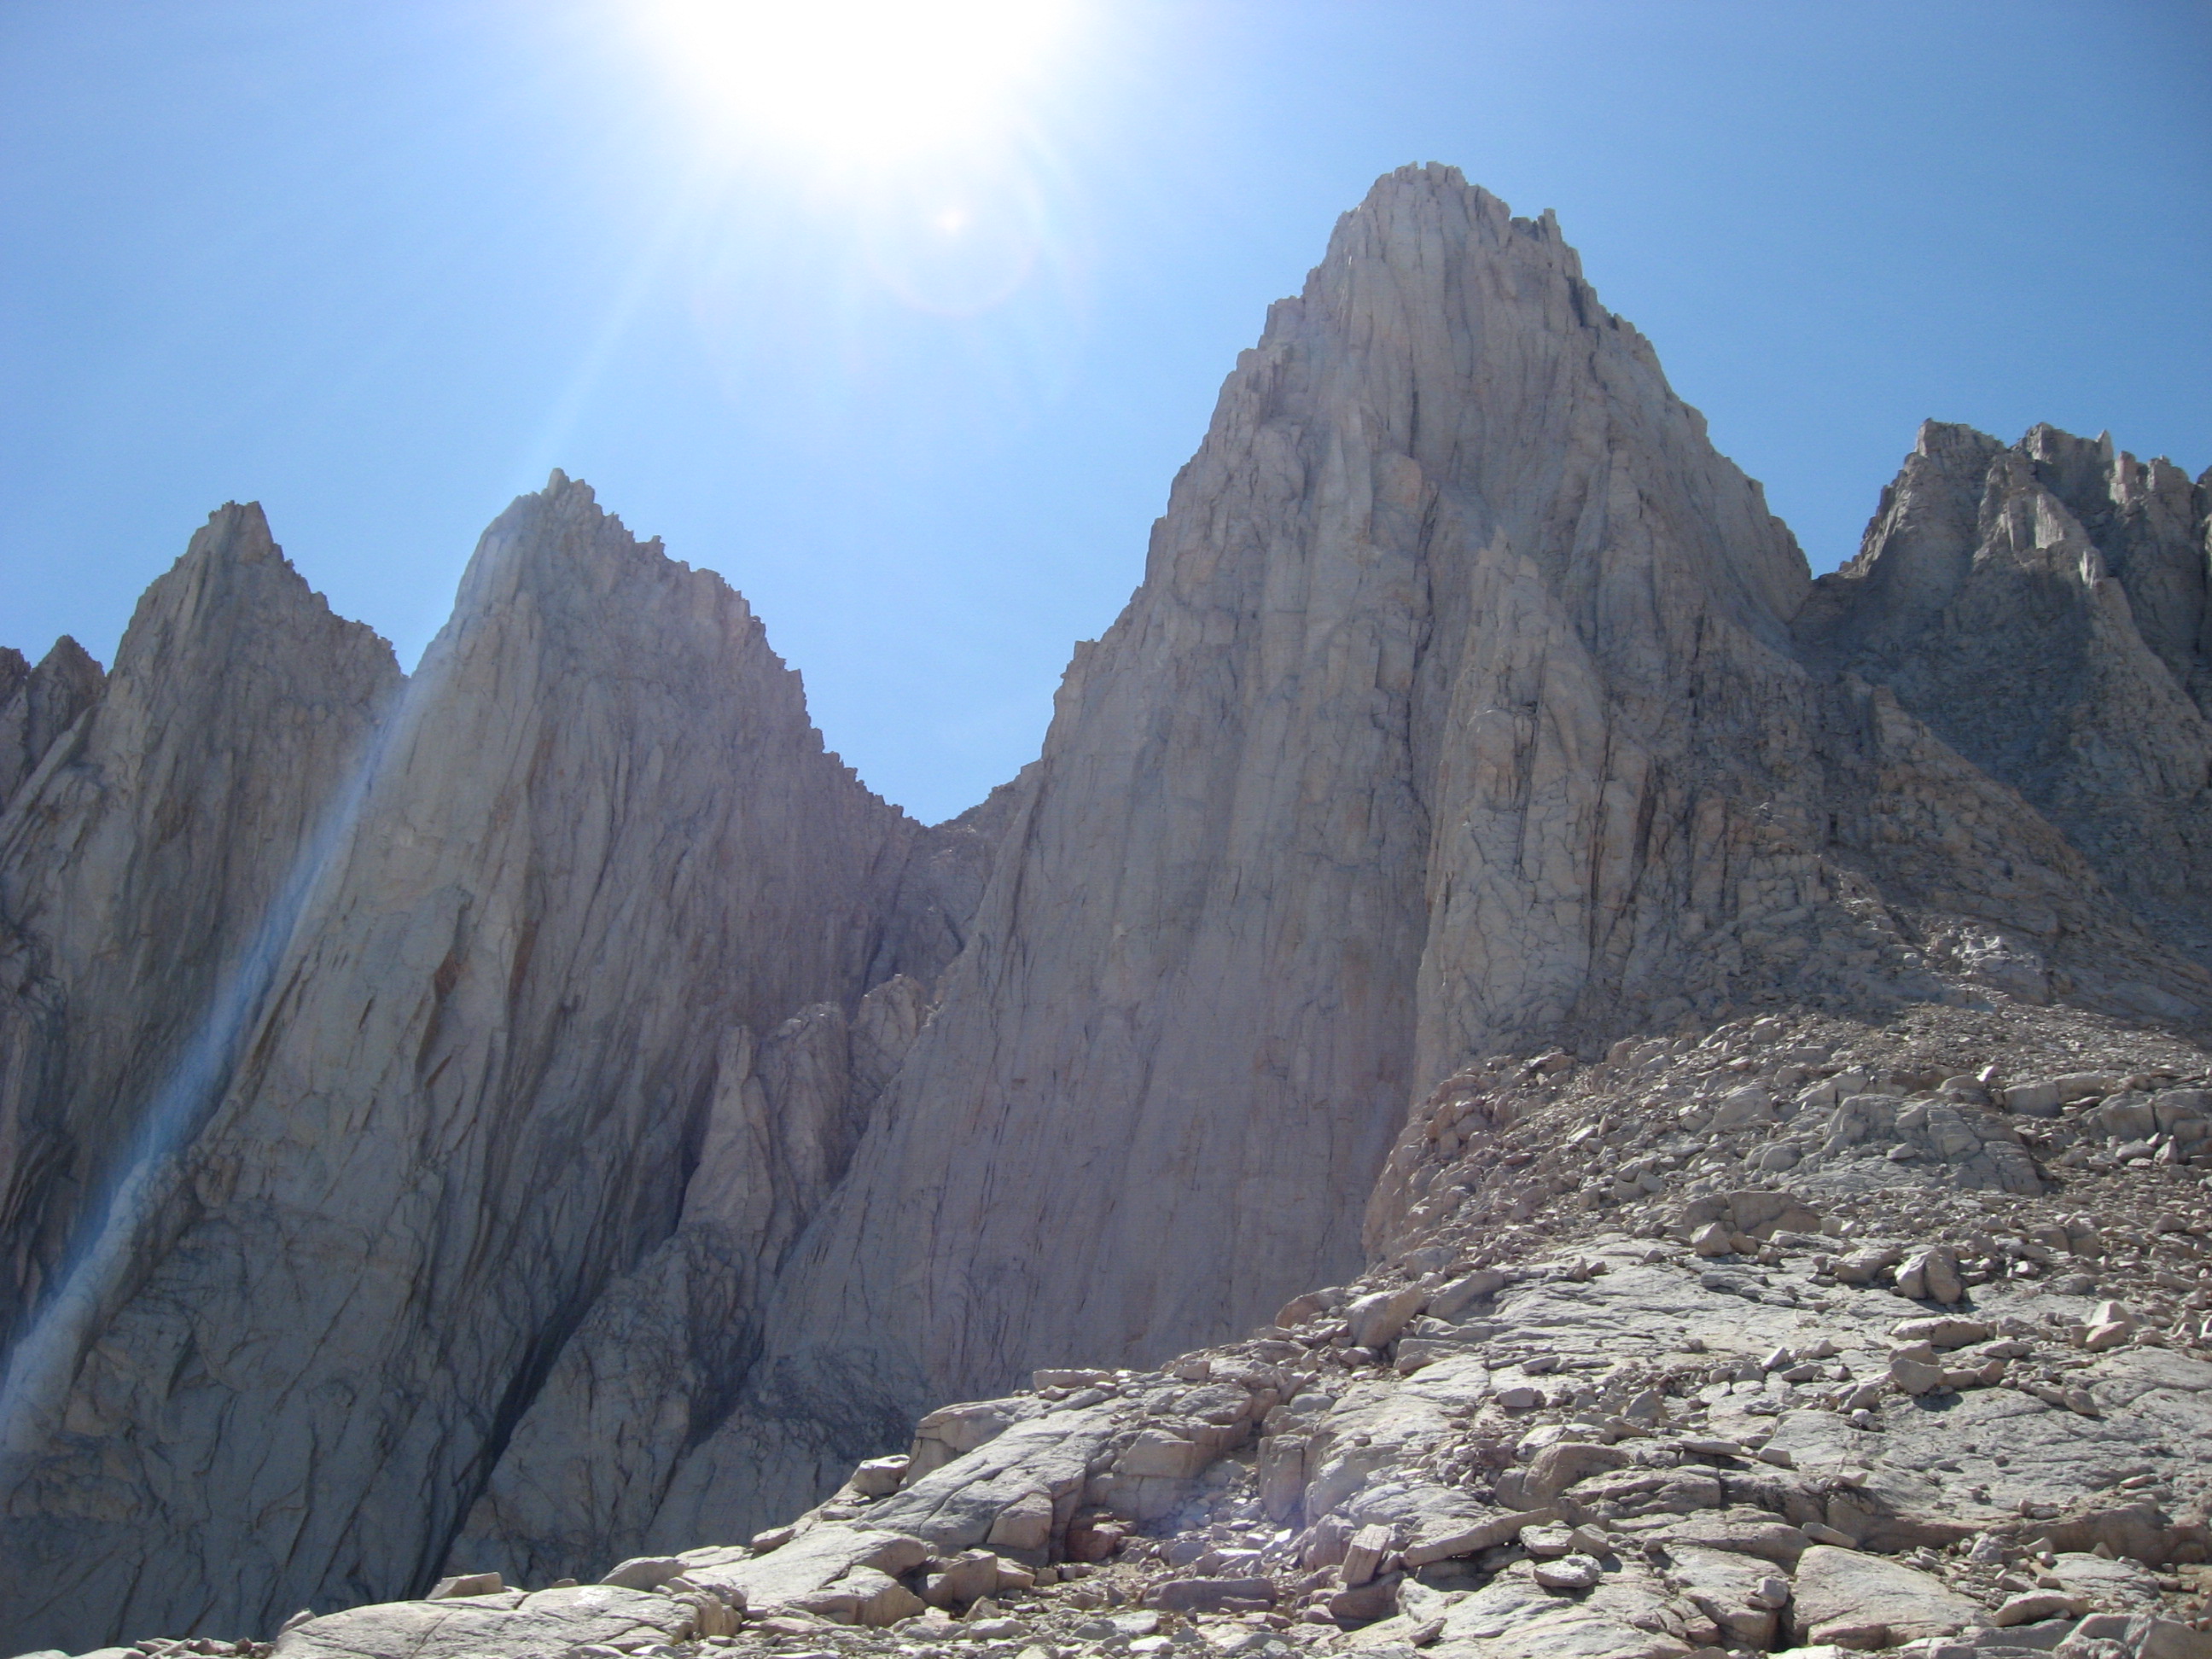
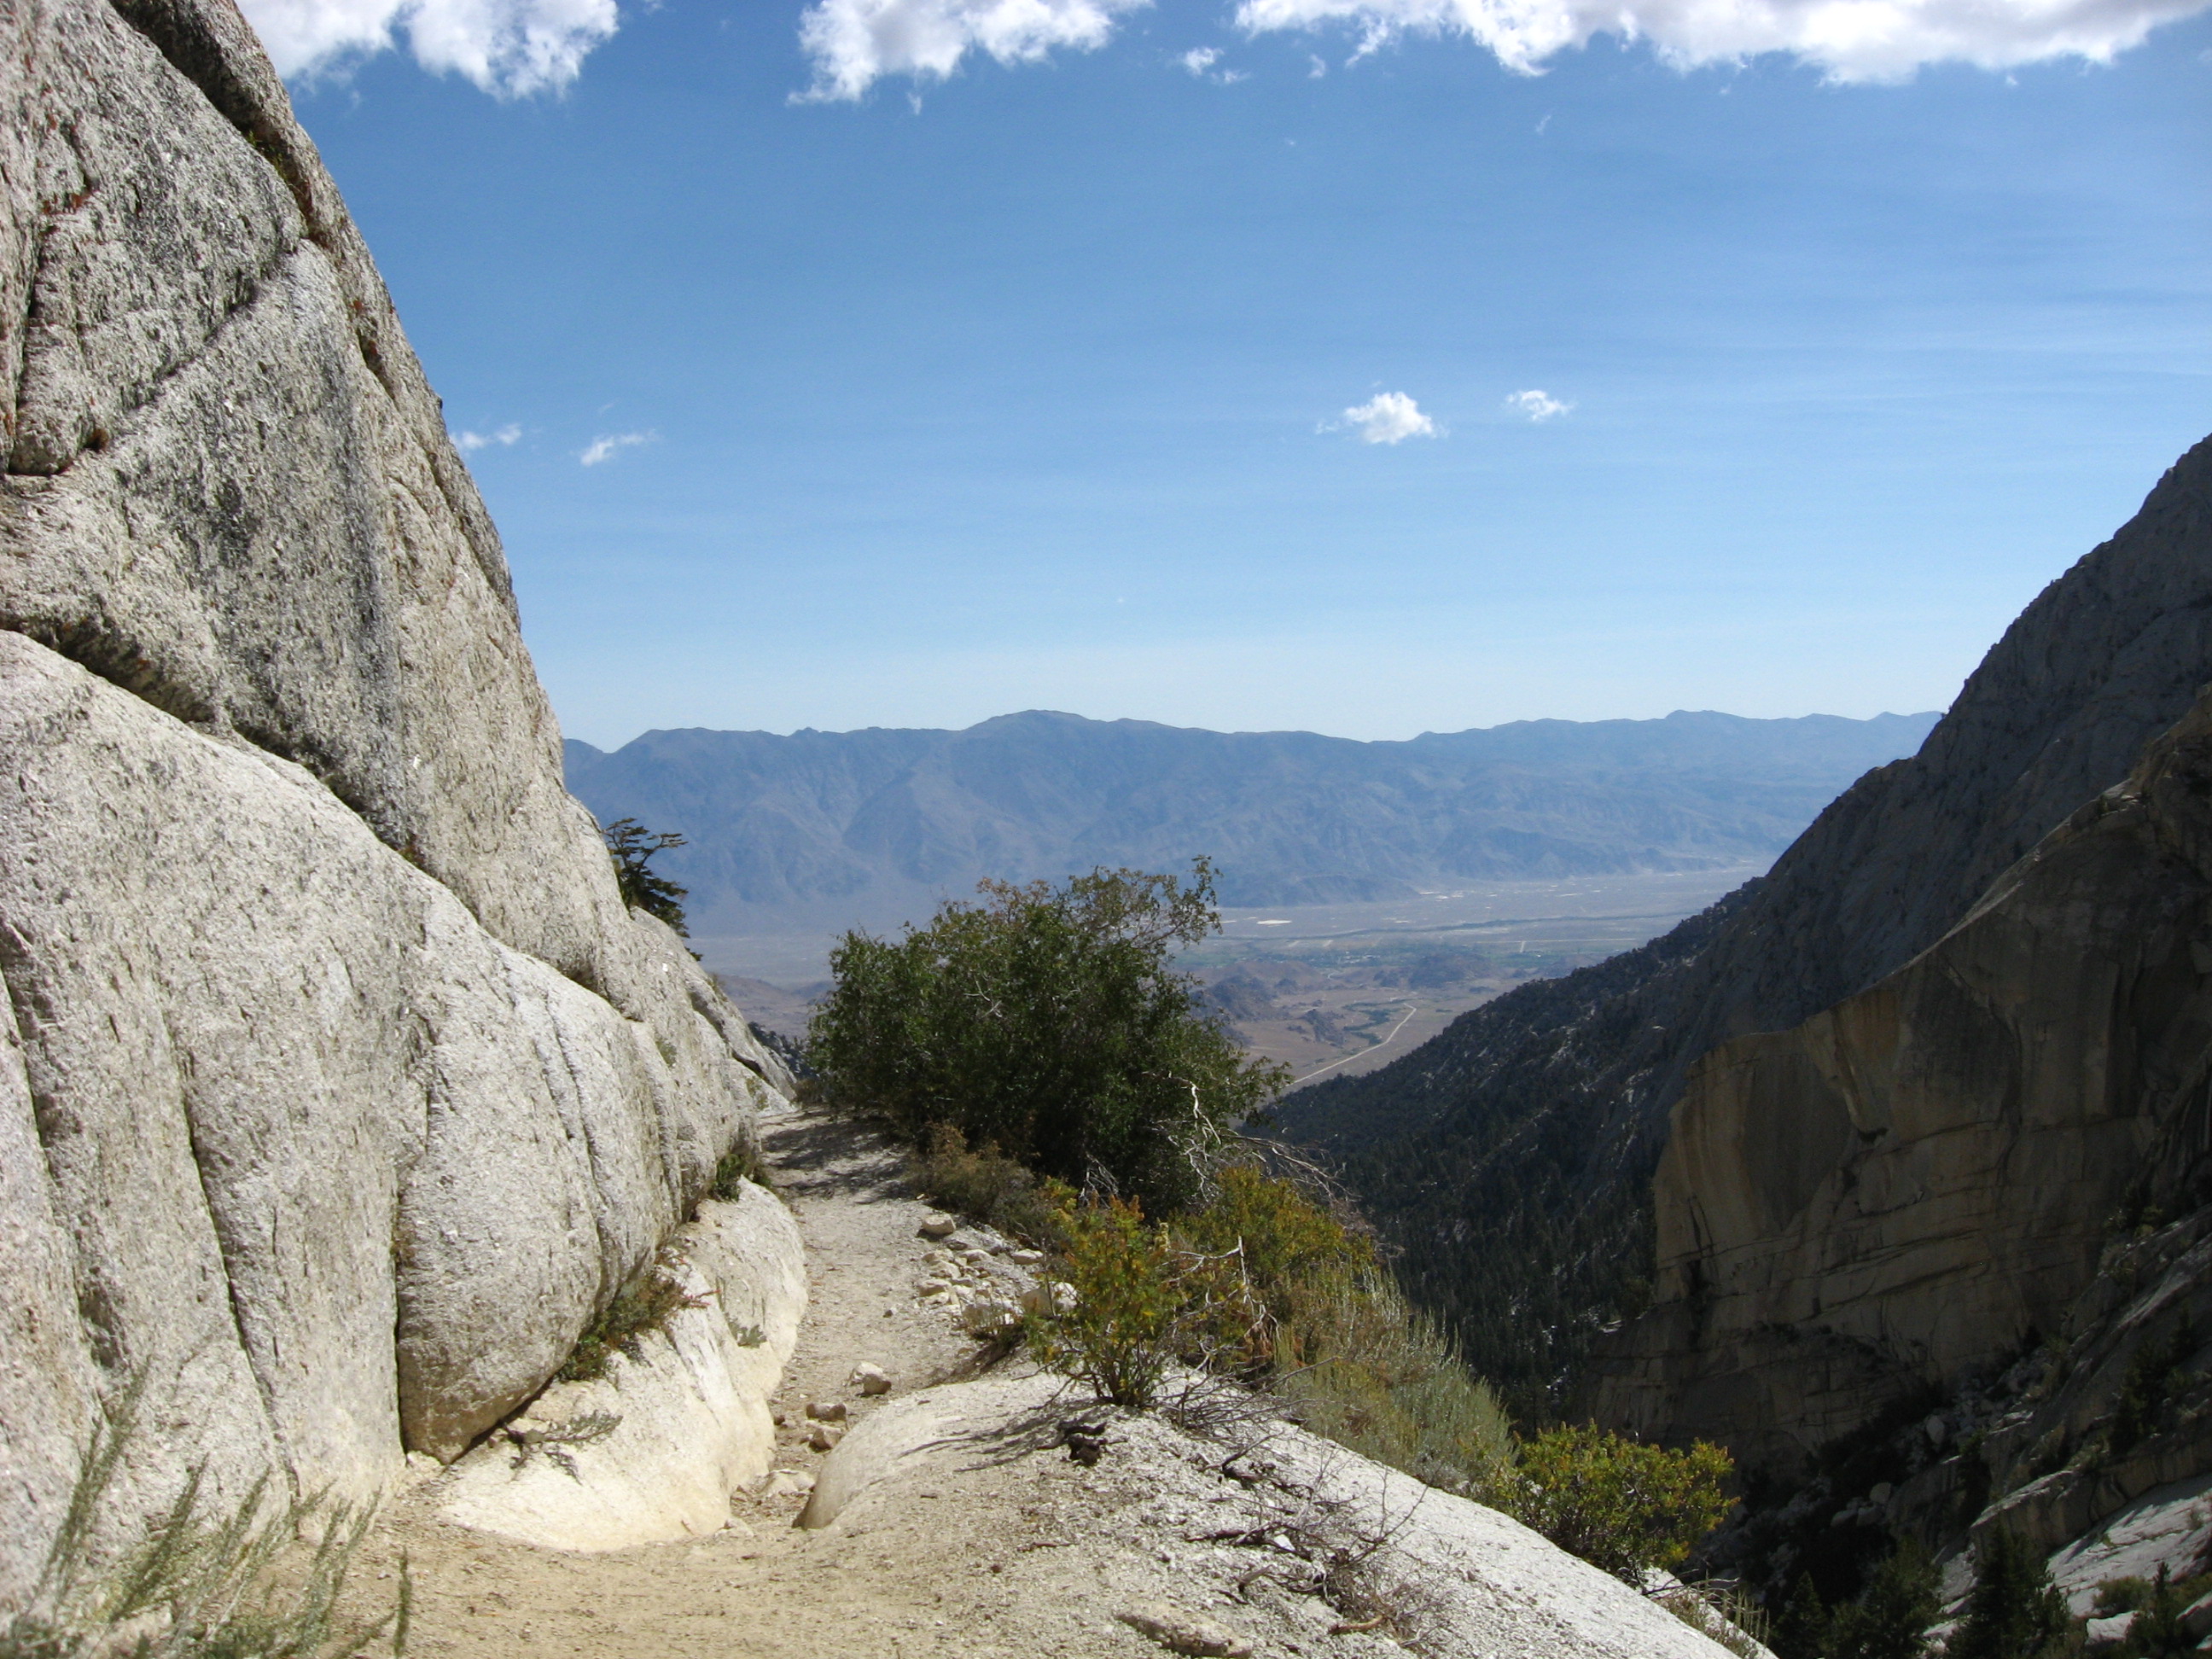
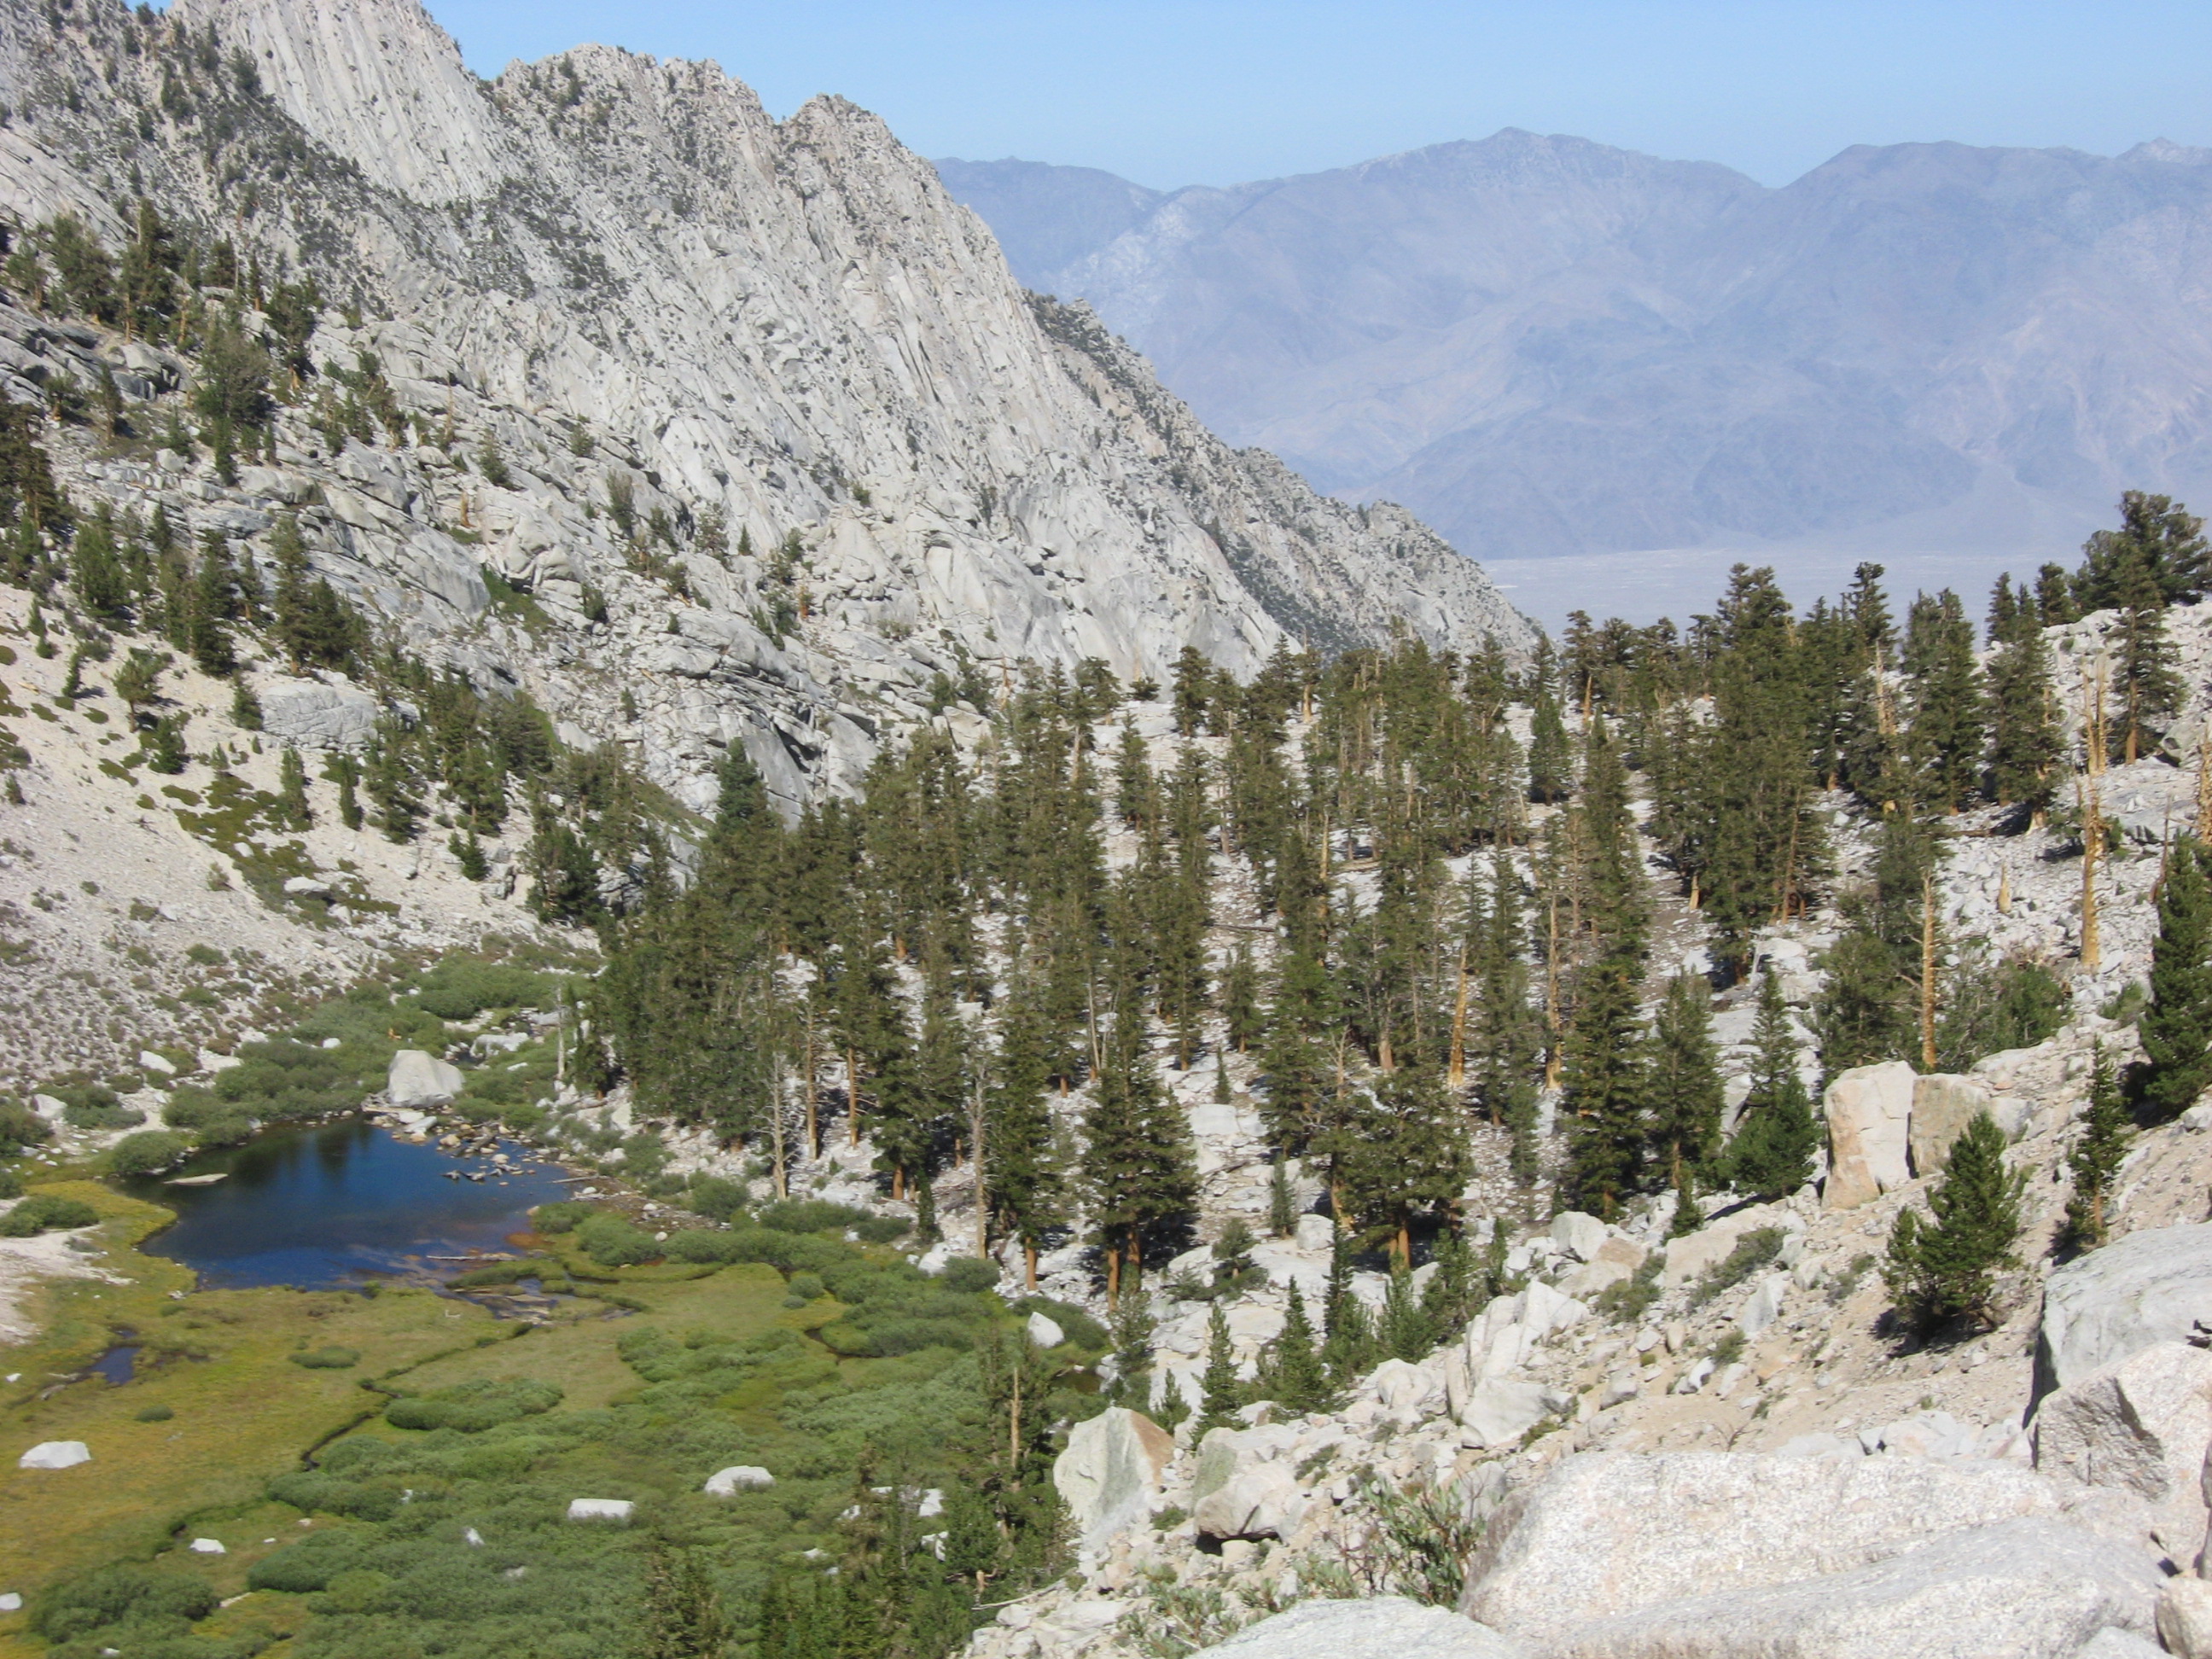
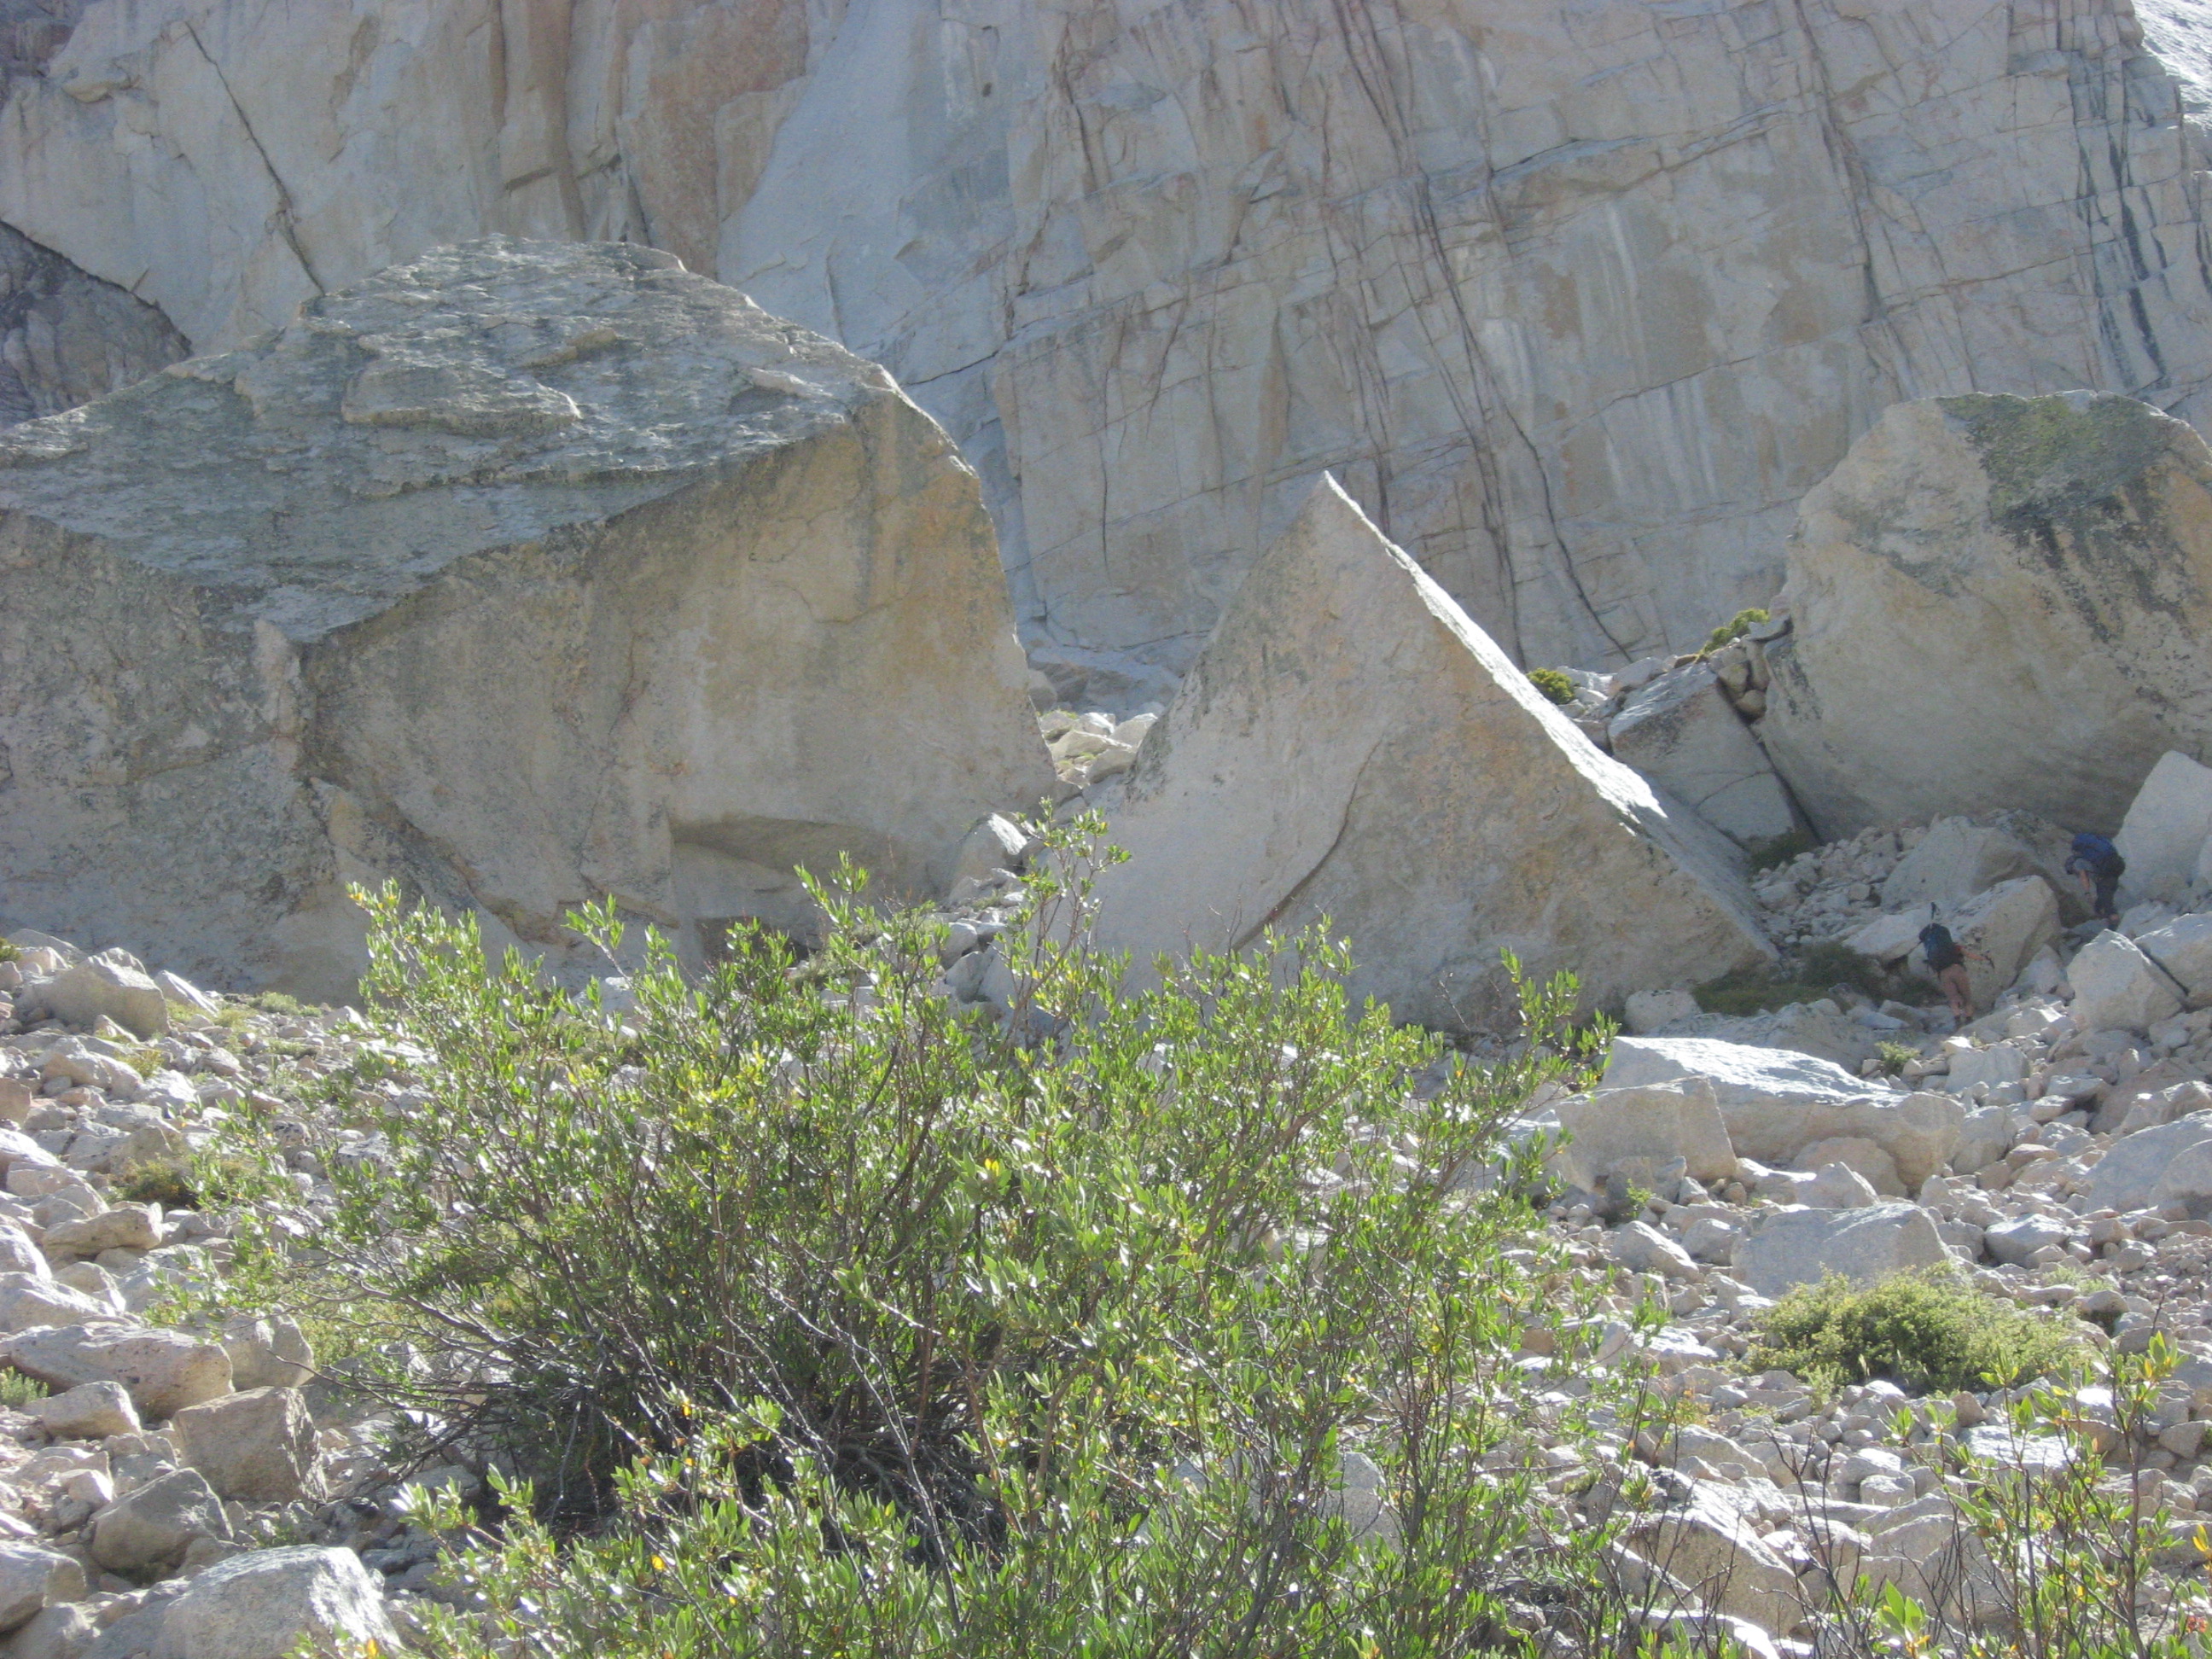
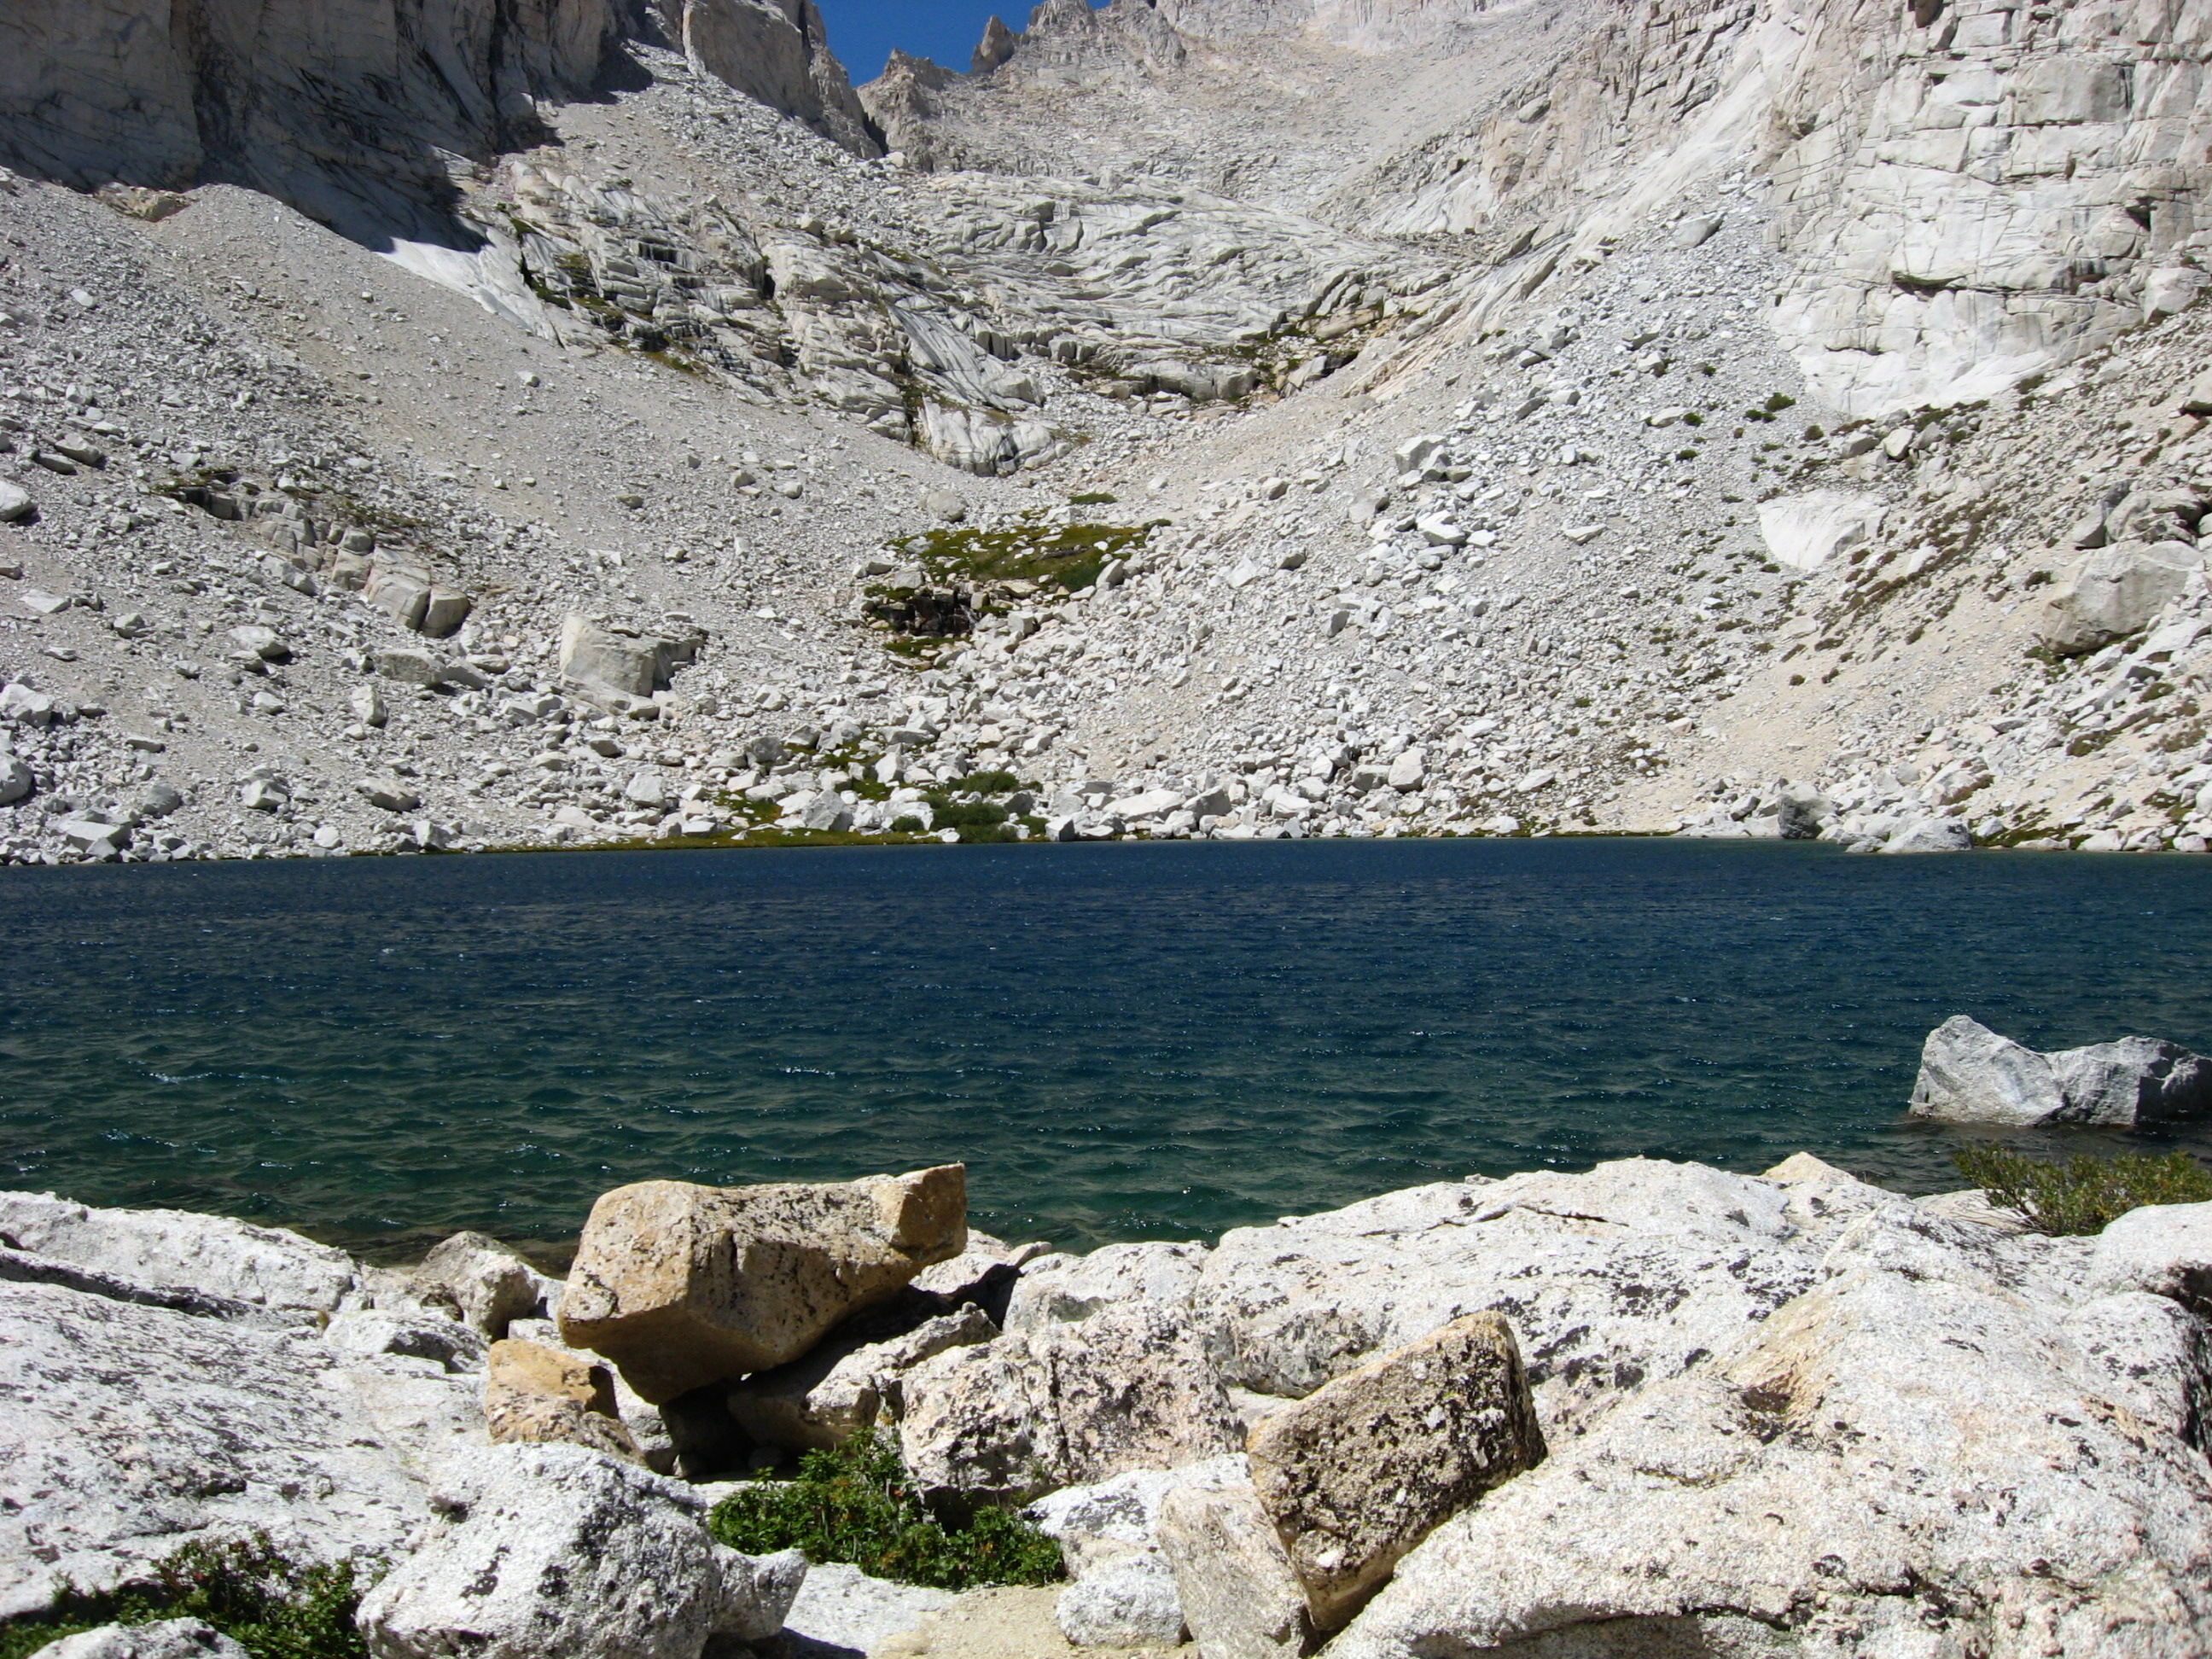
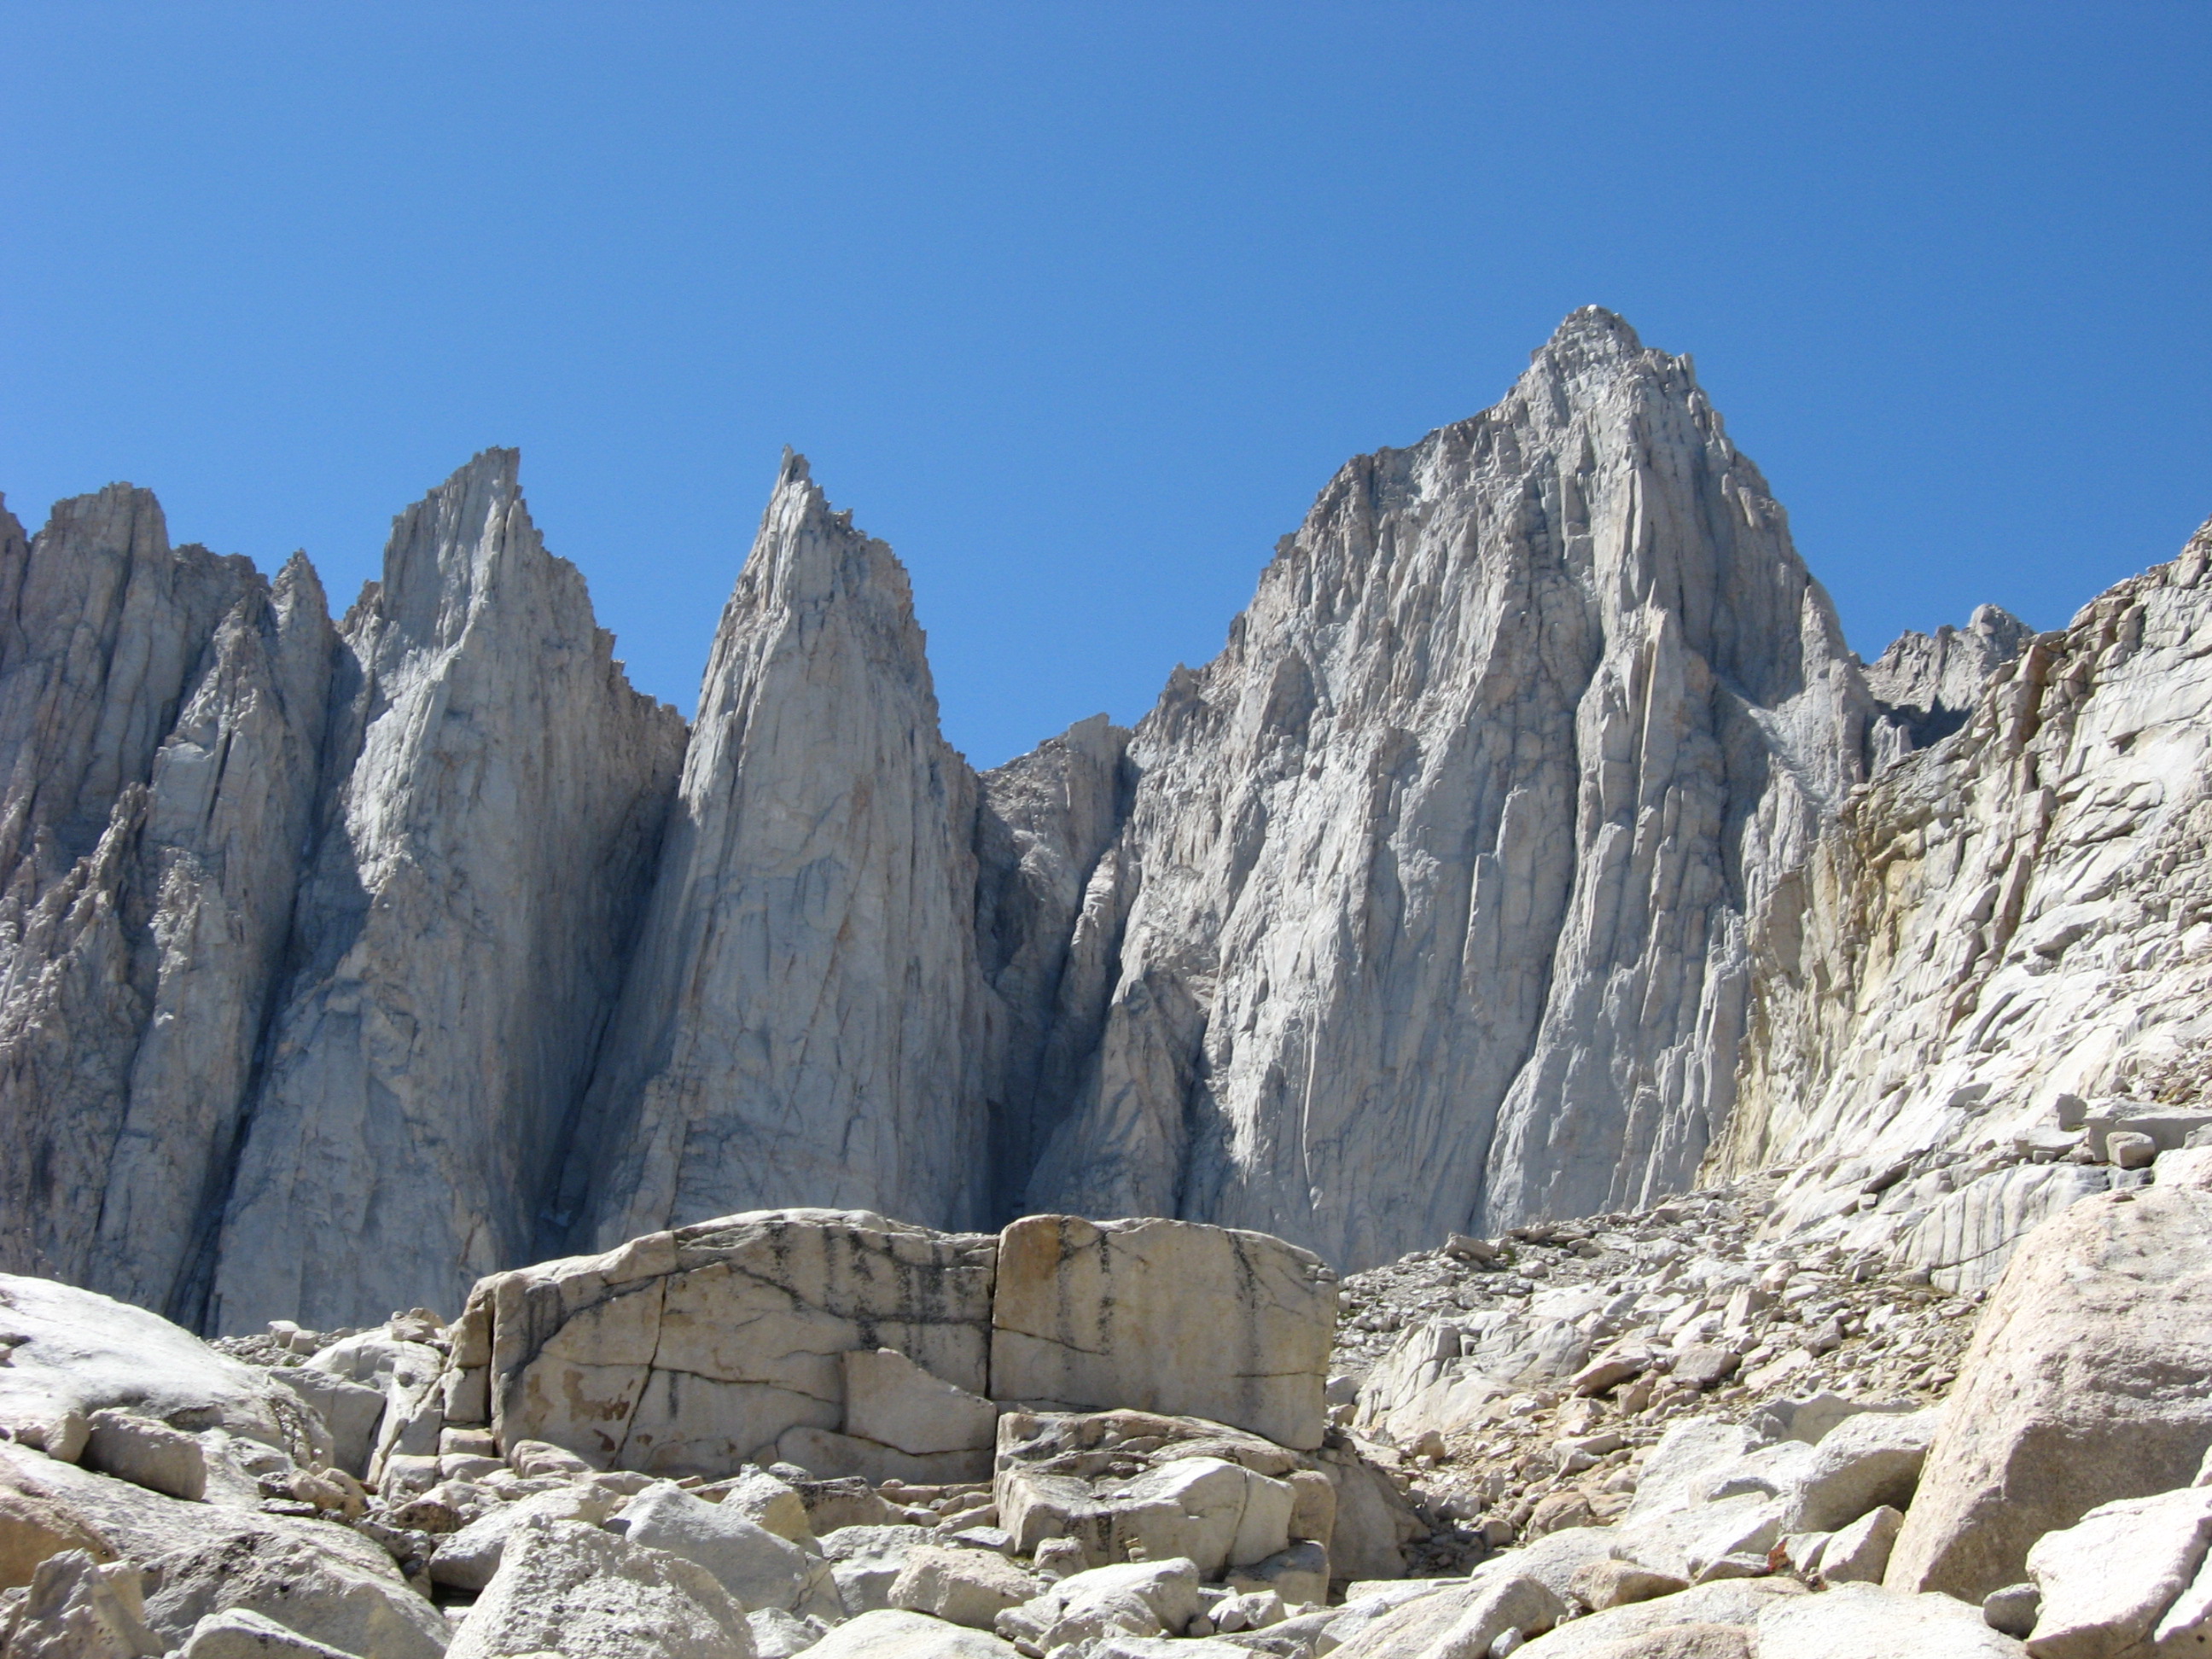
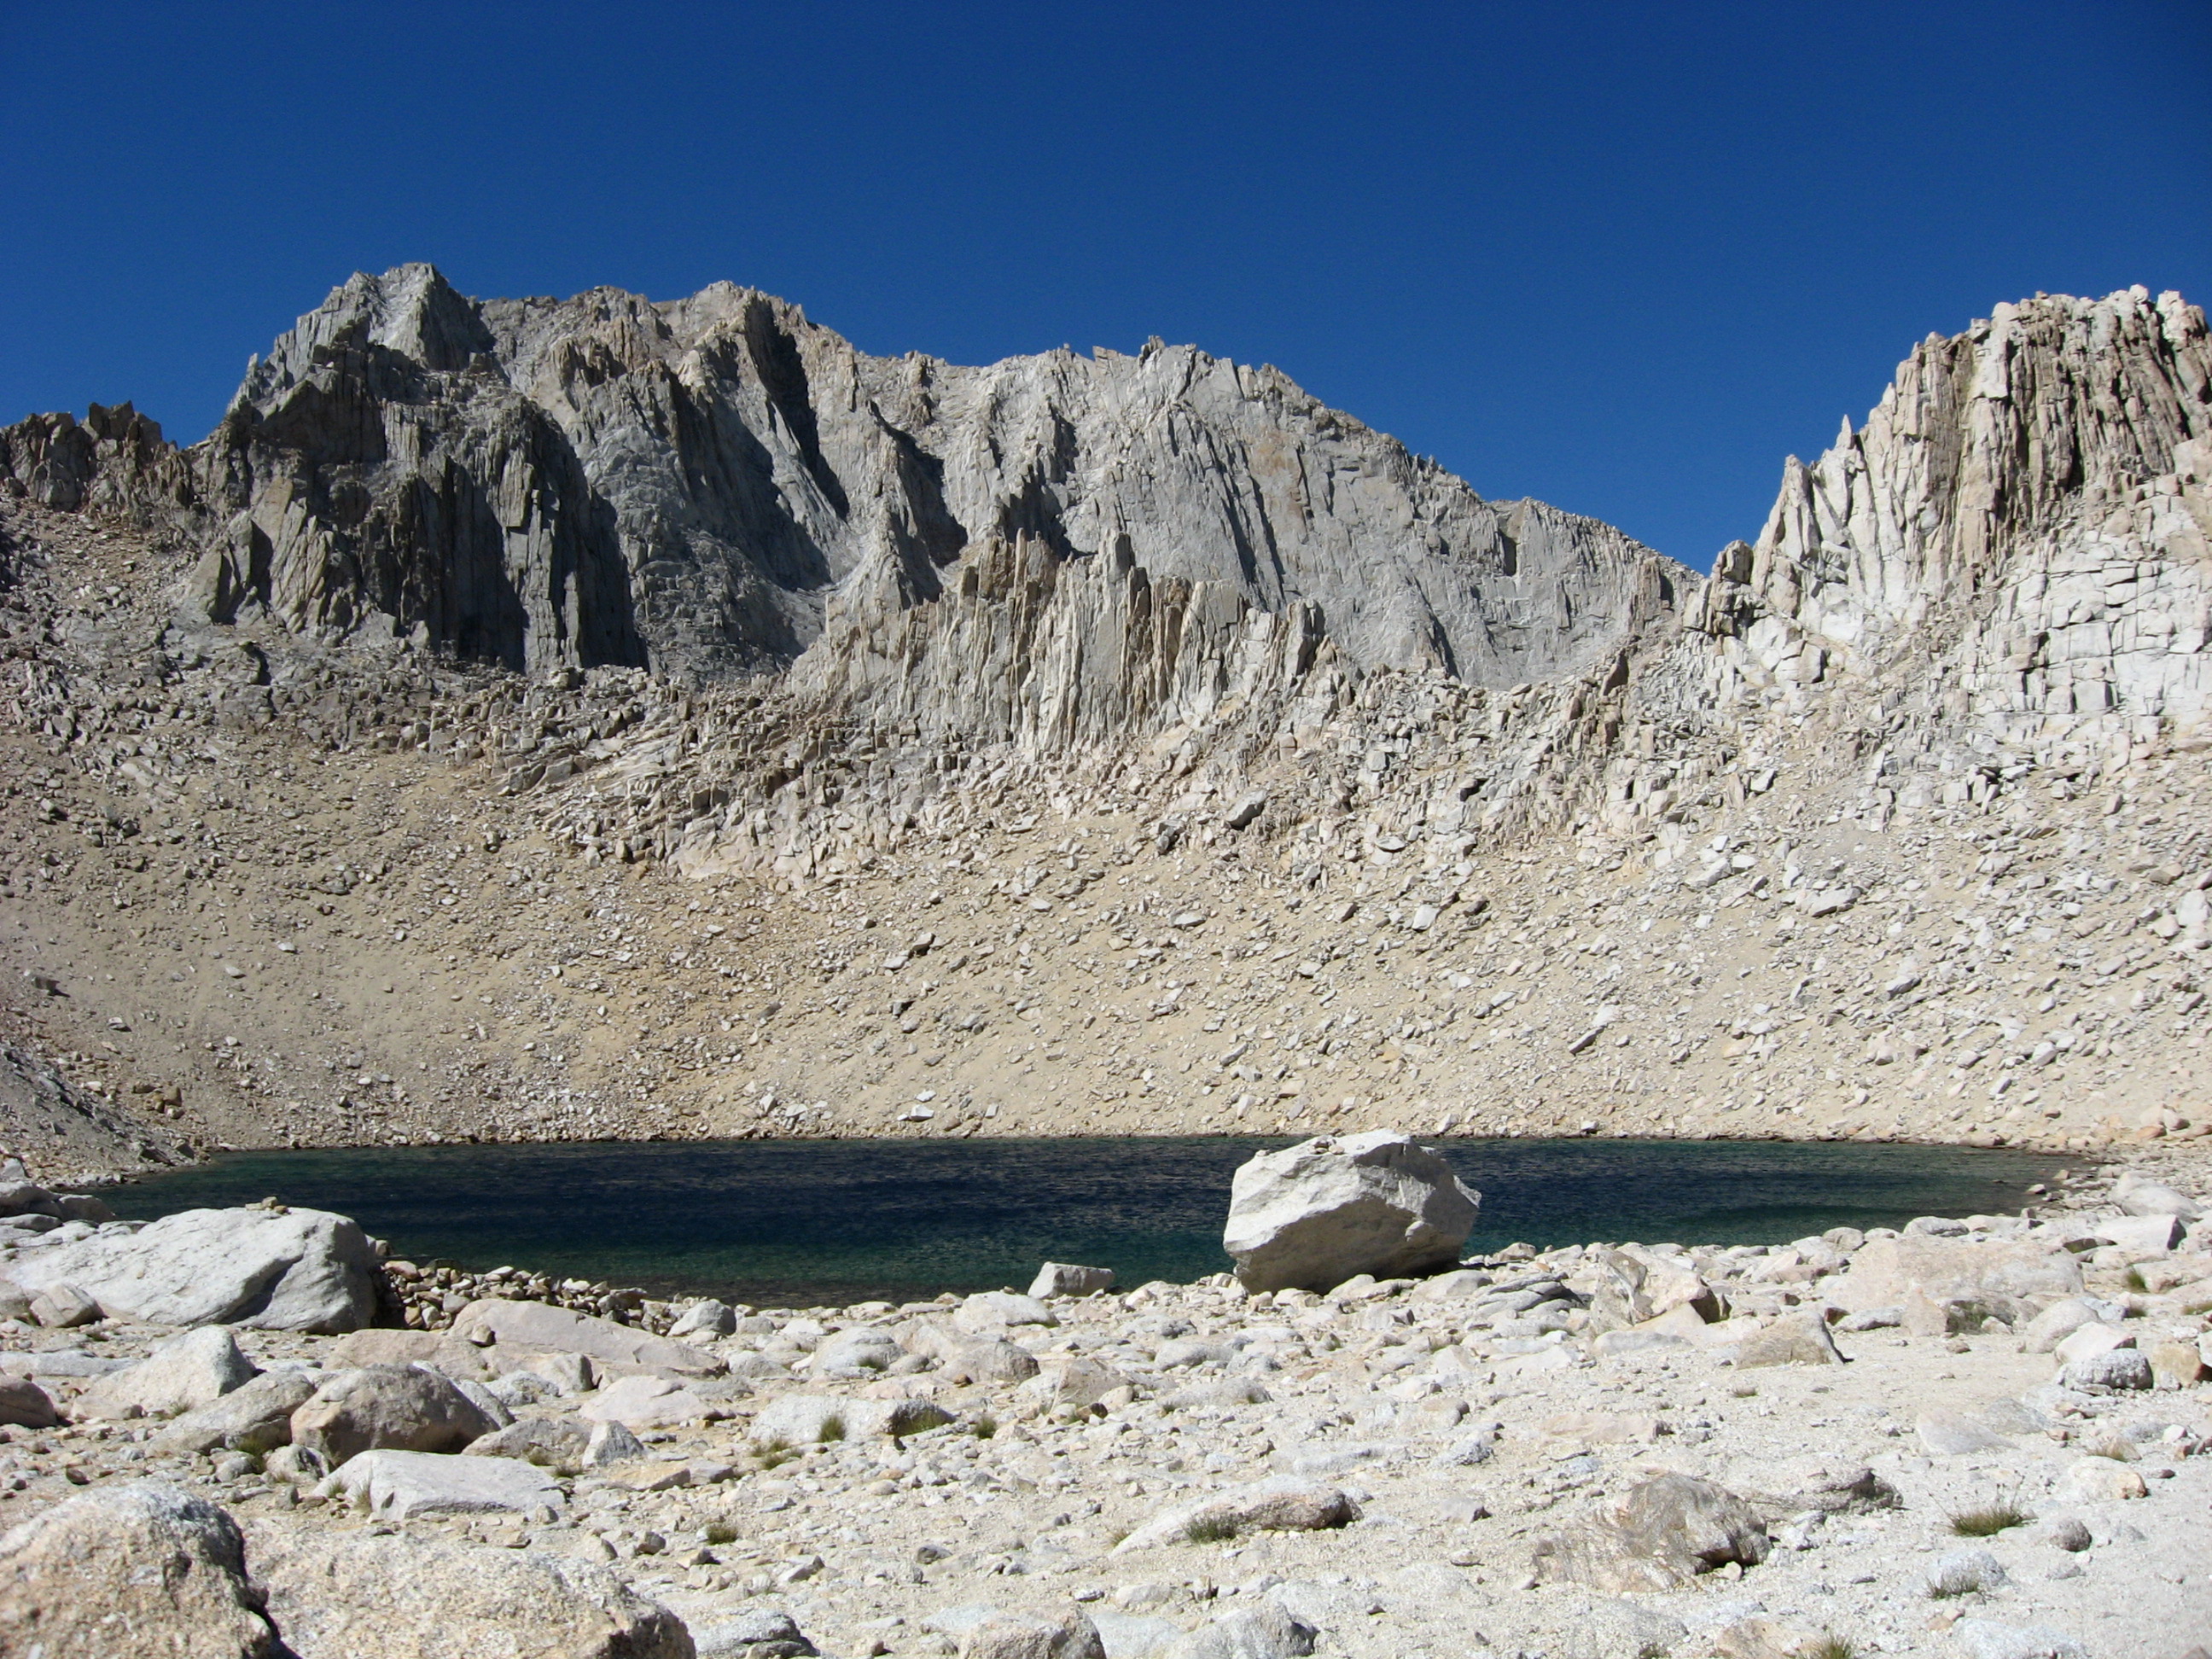
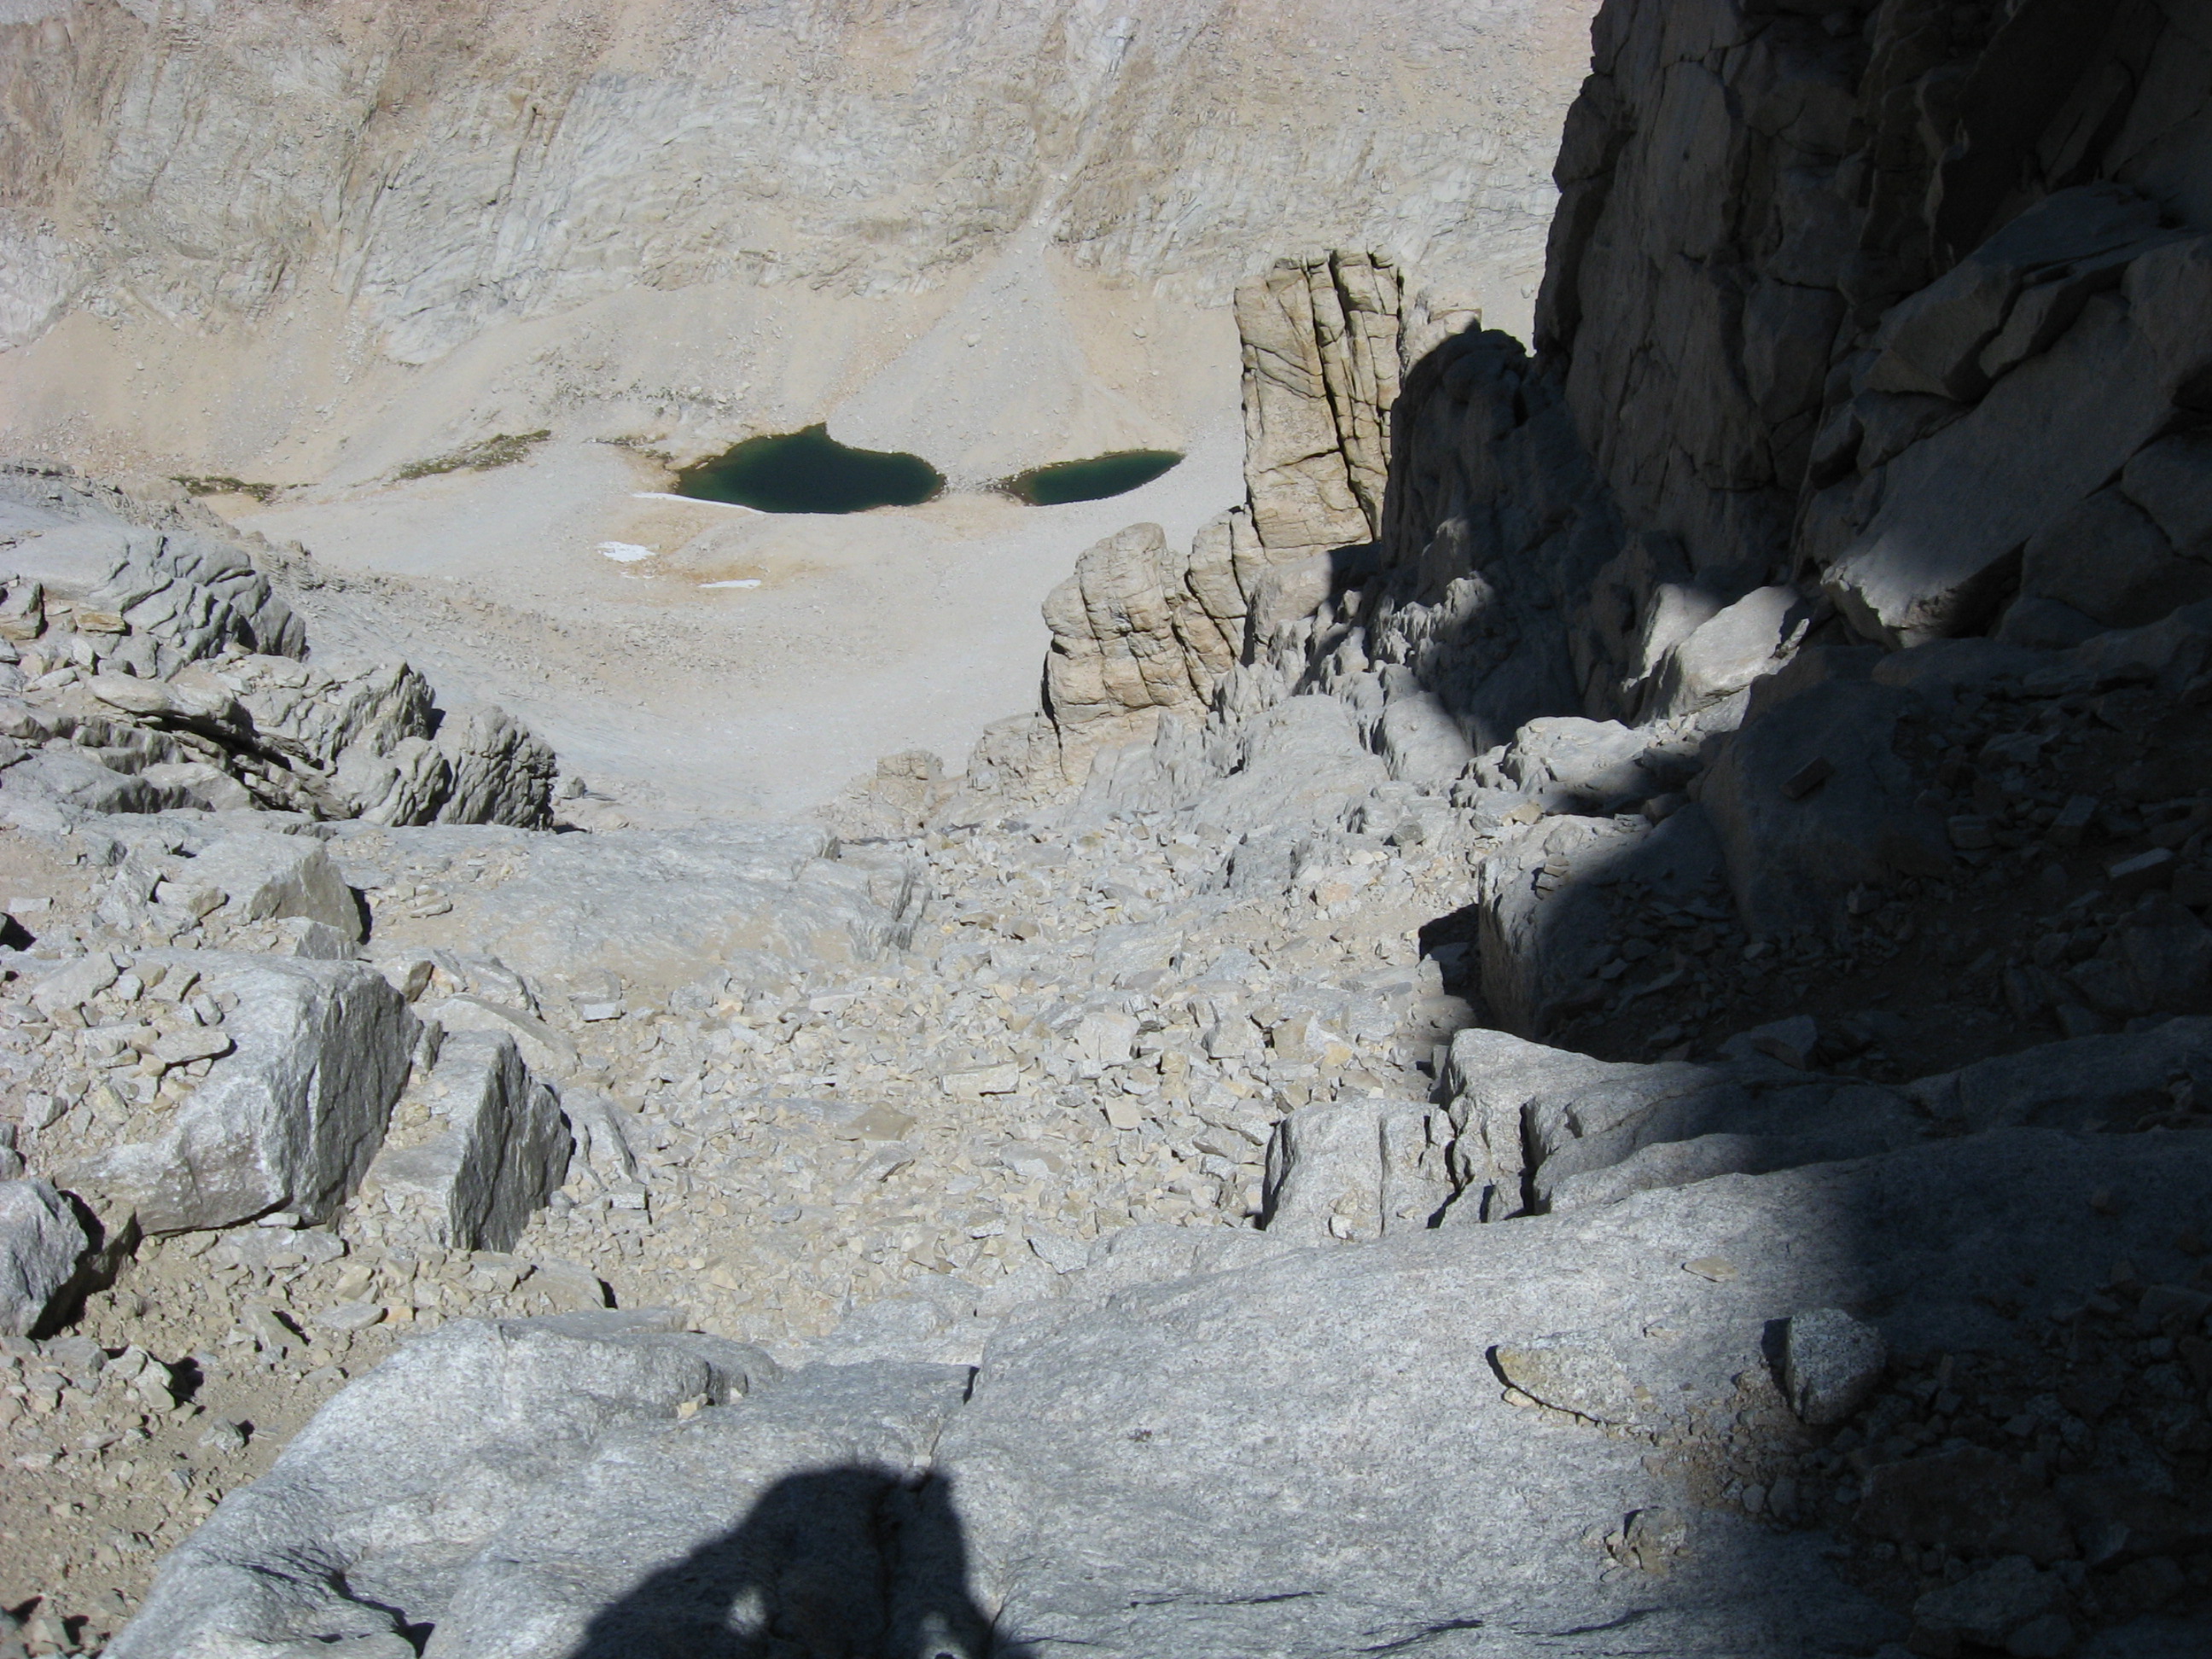
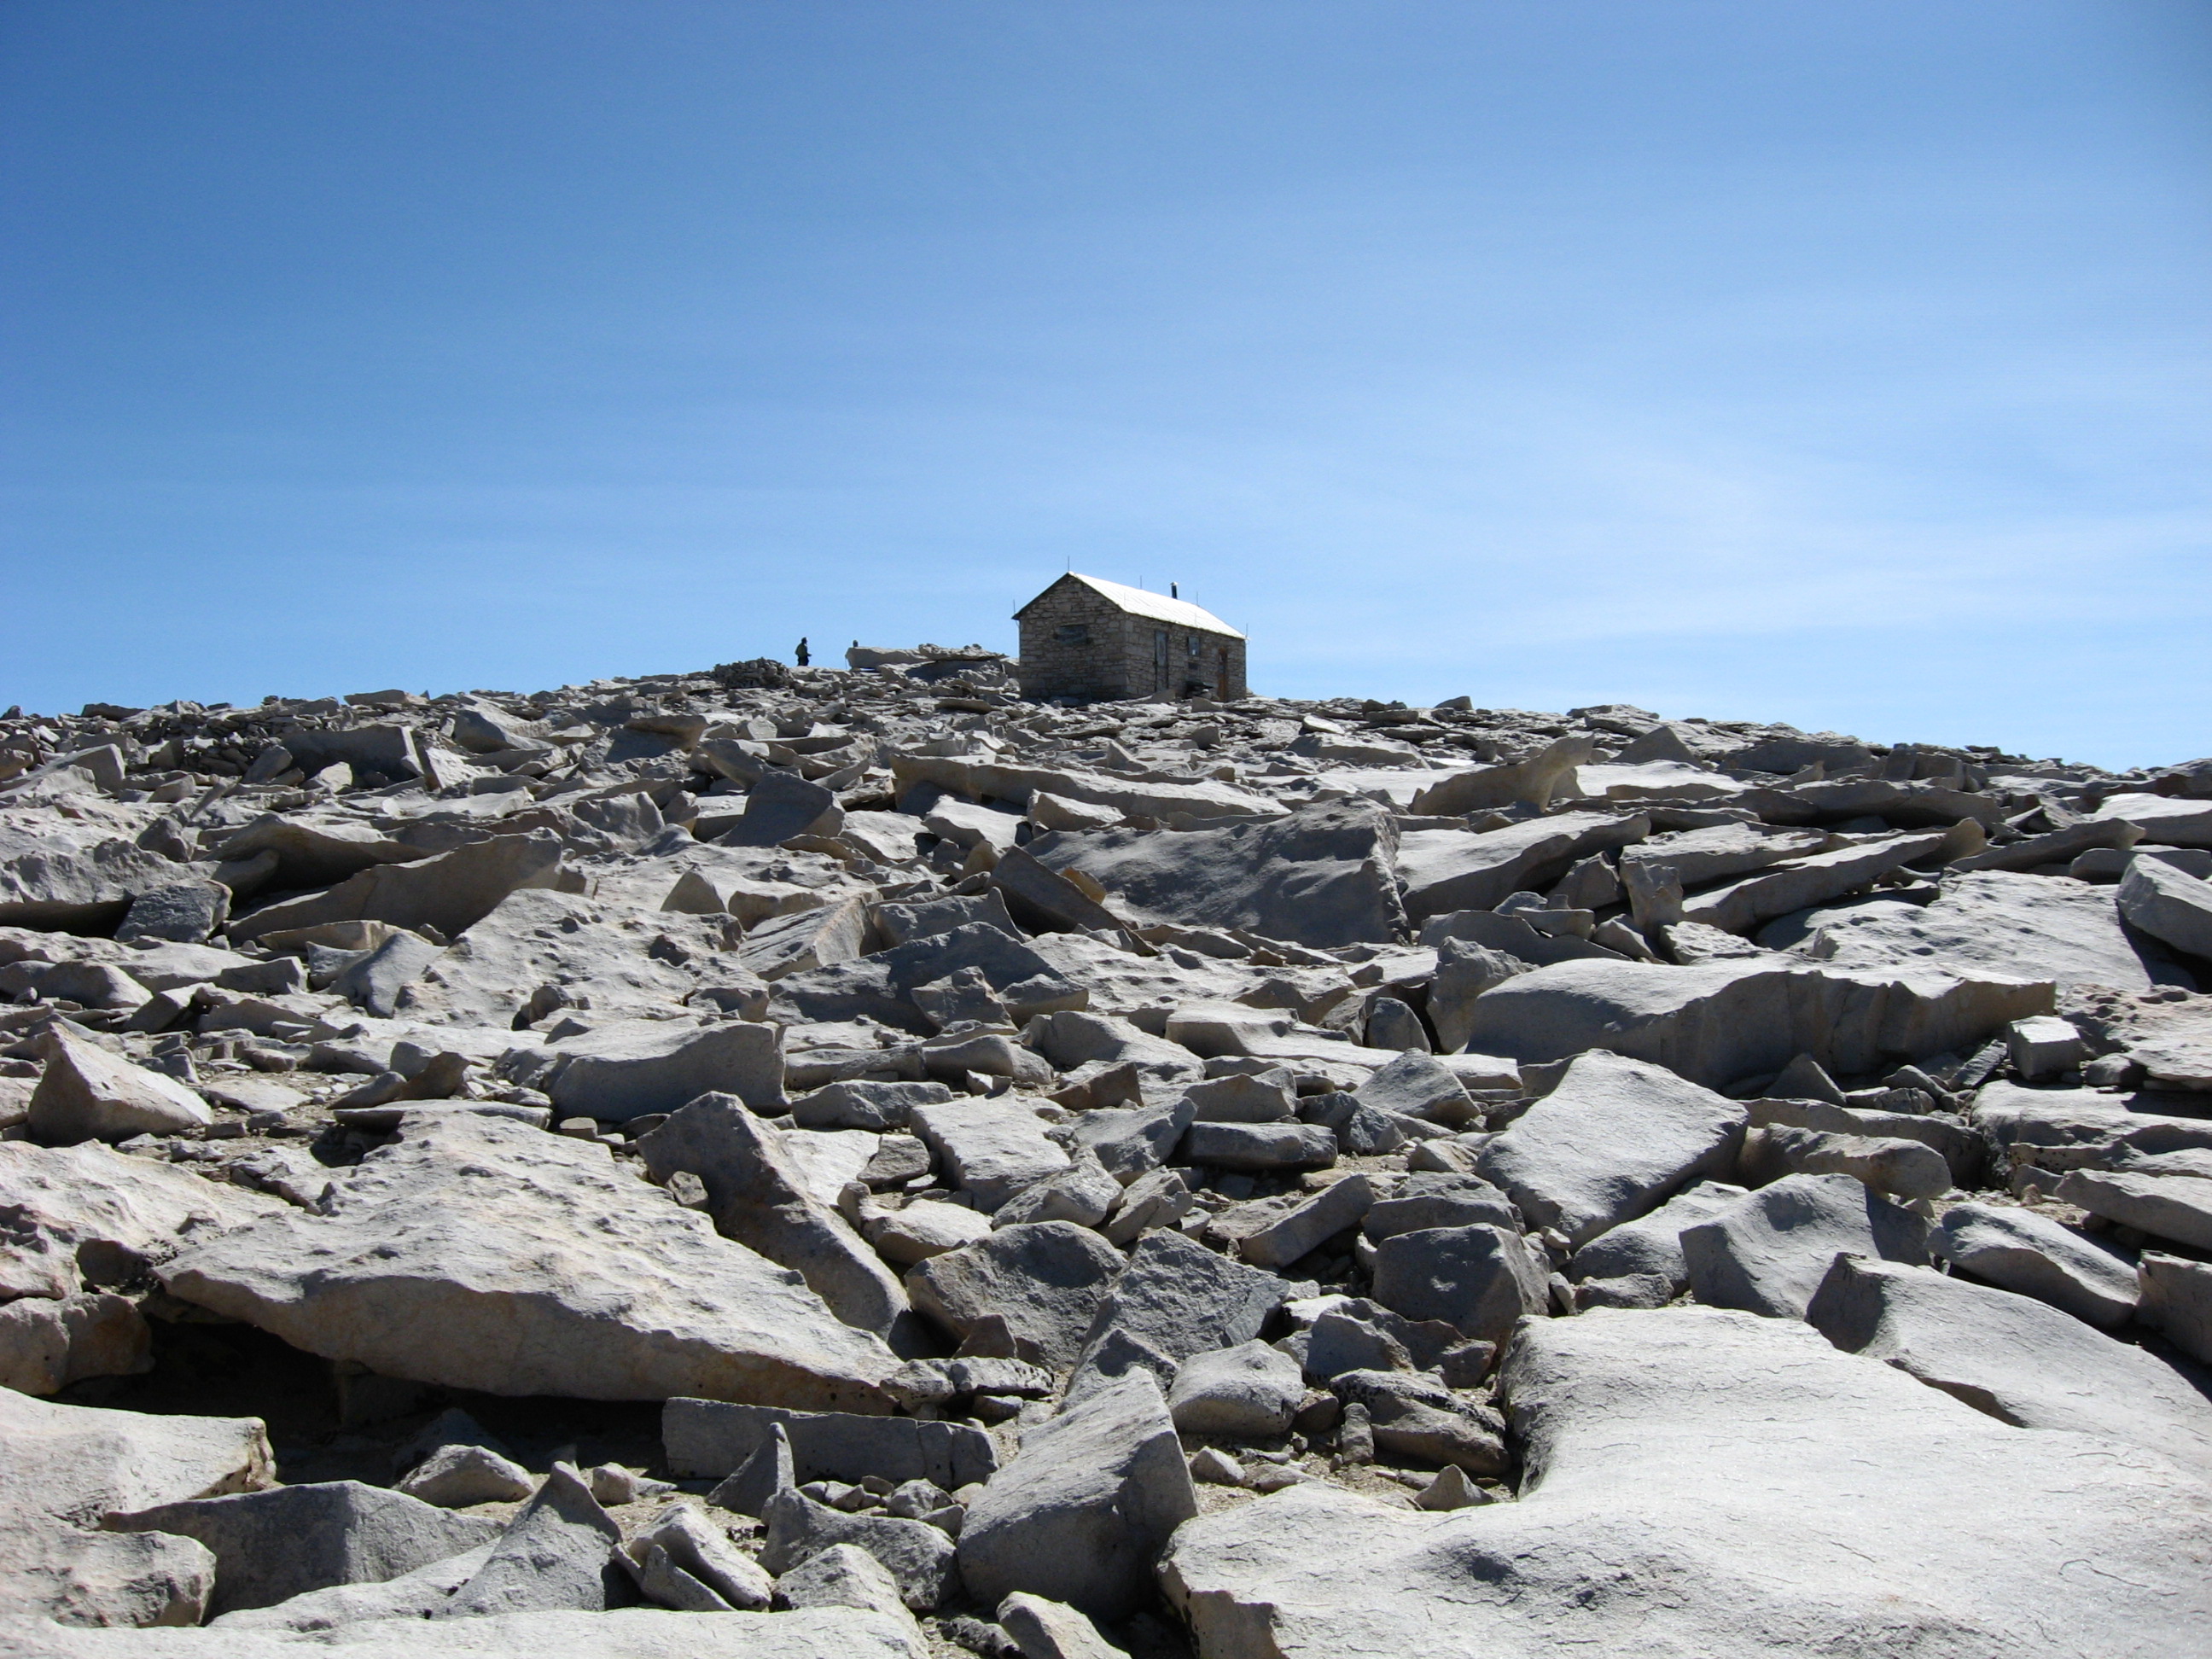
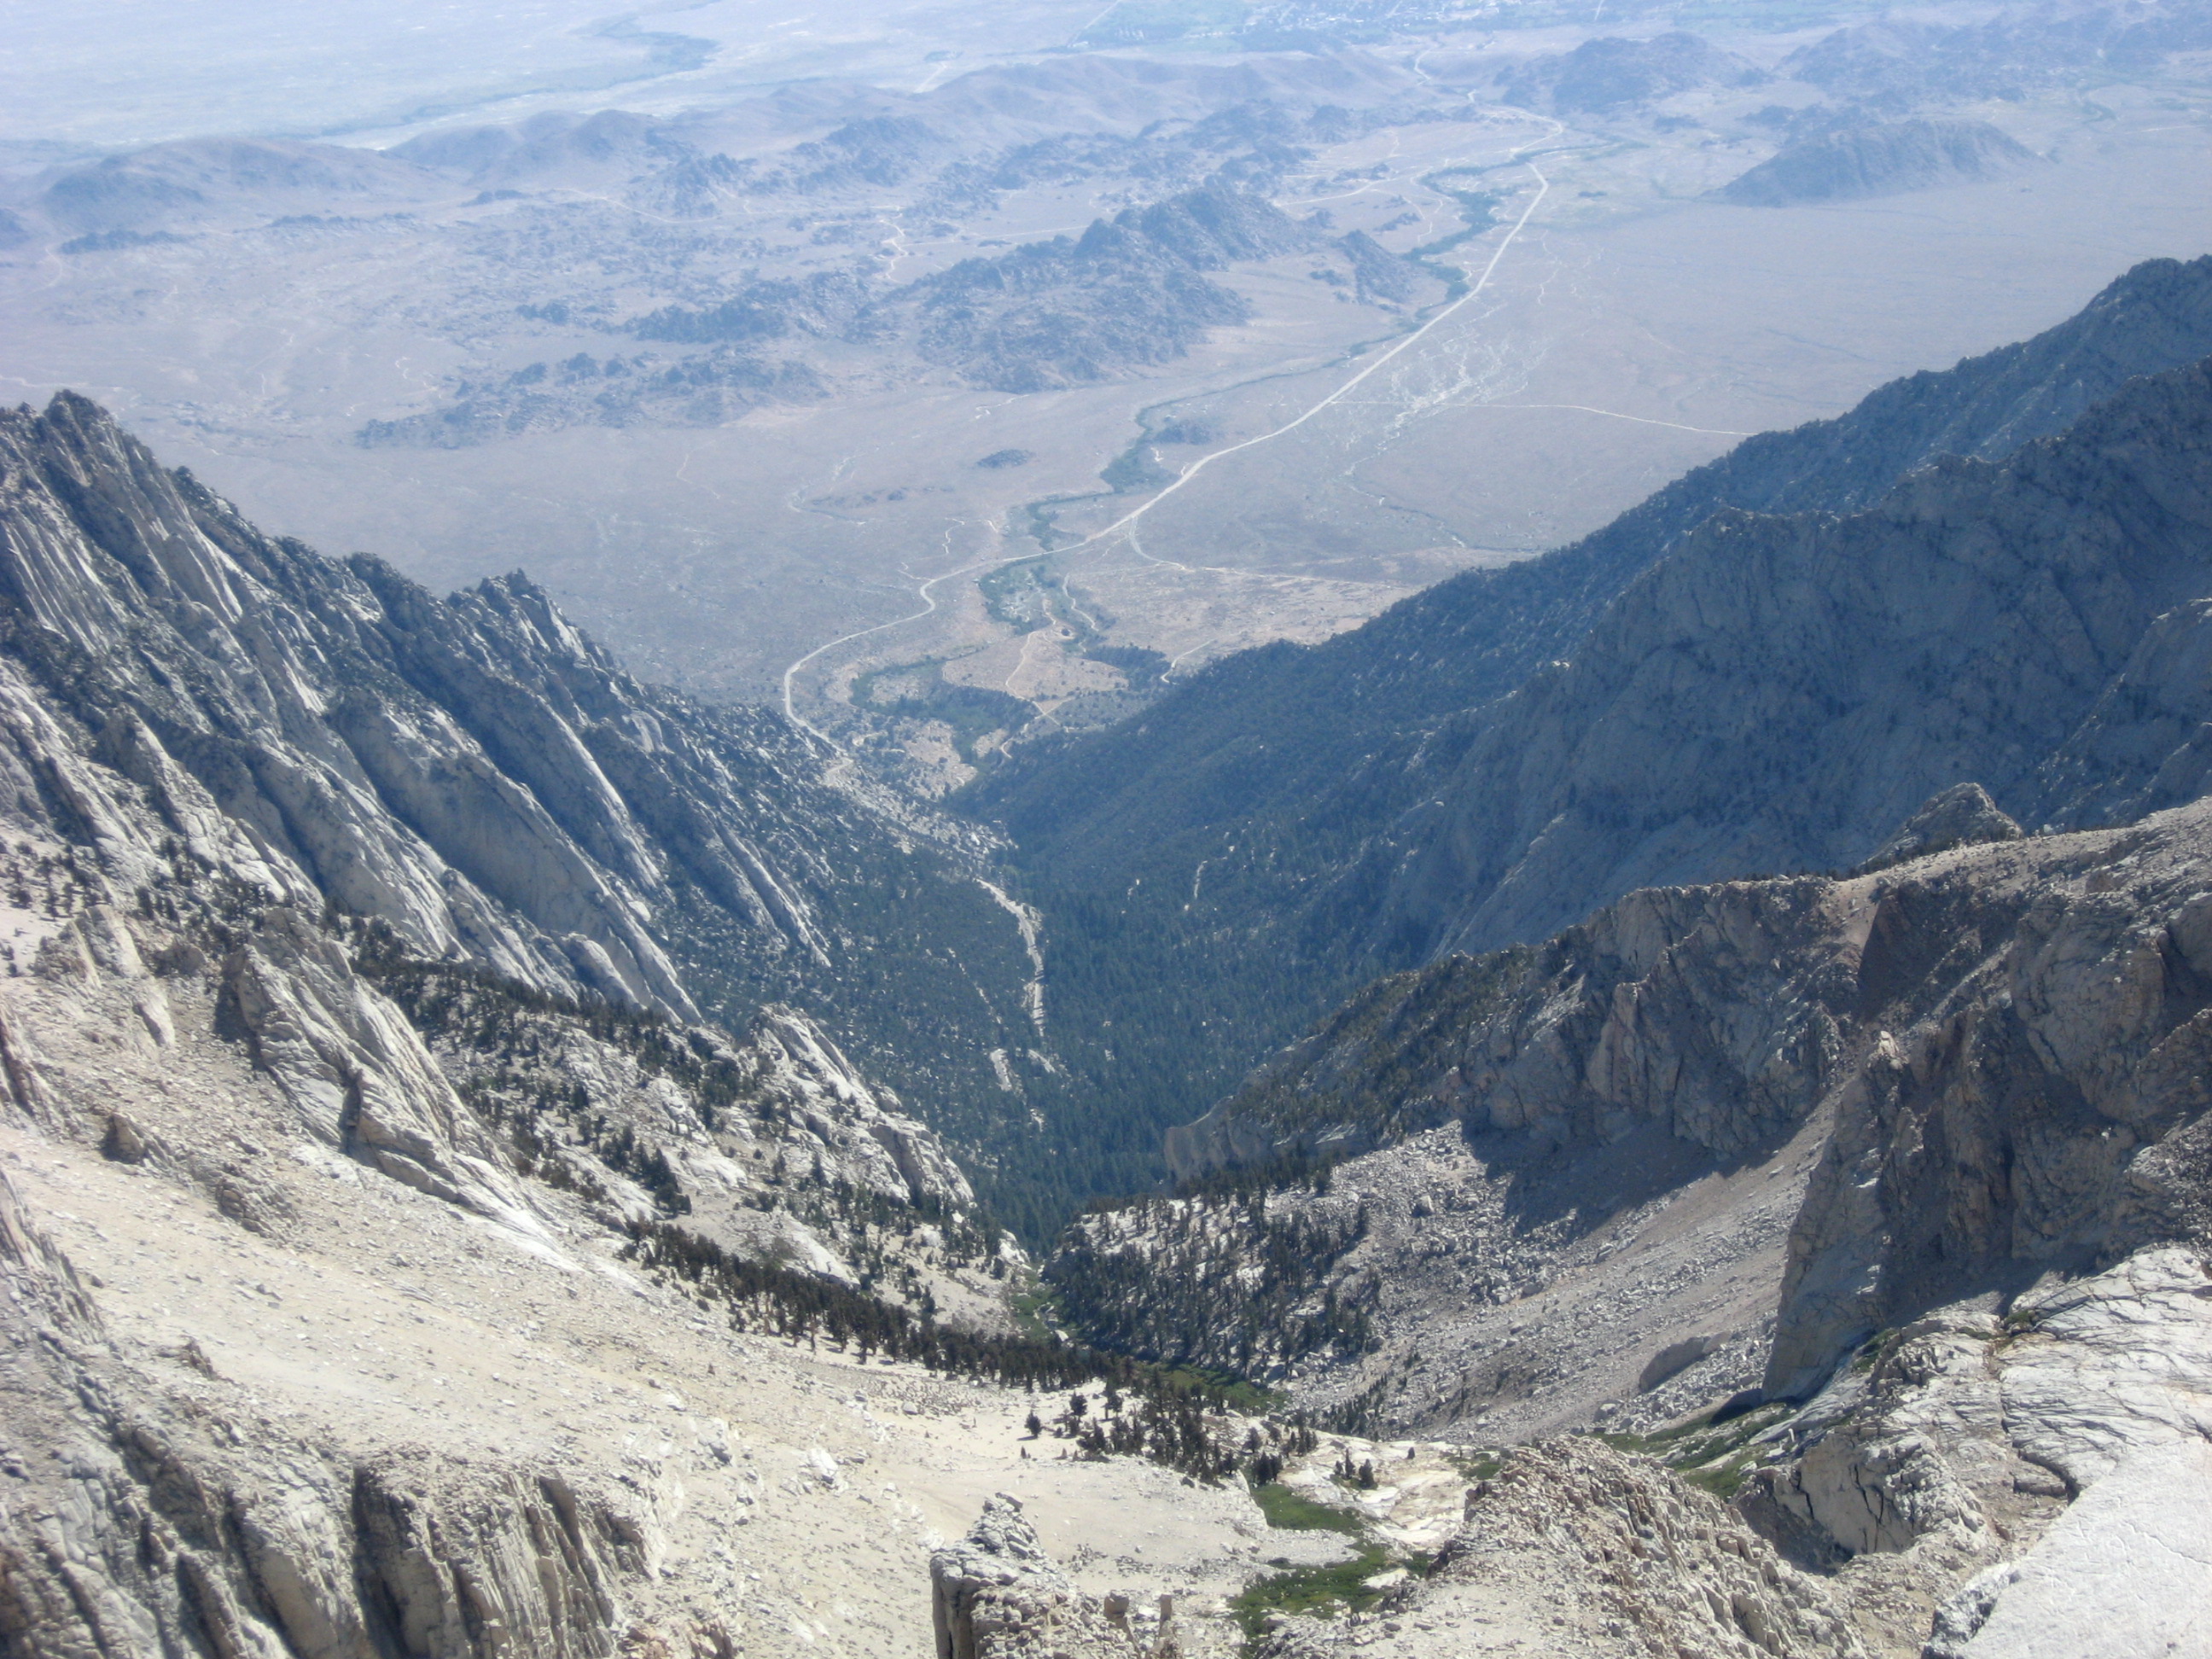
Once at the section of trail that meets the creek and appears as though it may follow it, turn around and look up. If you see this pine tree you are in the correct location to climb up some boulders to the ledges and begin the approach to Lower Boyscout Lake. Climb up the rocks and begin to backtrack east on the lower ledge. Route finding here is moderately difficult and very important. The ledges are never very wide but will be wide enough that you should have no risk of falling. The safest route will be up higher. Look for the cairns or ducks and follow the path through the ledges up to the next section of switchbacks. The Ledges don't last very long, but it can be a challenge. On the steepest sections, and if carrying a heavy pack when down climbing, it can be a good idea to have a partner to lower packs down to and down climb without the added weight. That way you won't need to be concerned with dropping them down a steep section and having them roll off the cliff or wearing them and having the pack throw off your balance. Above the Ledges, you will climb a relatively easy section of trail that will take you up to Lower Boyscout Lake. Lower Boyscout Lake isn't very large, but it is a good place to relax and enjoy the fabulous scenery, and if you are running later than expected it can be a good place to camp. Camping here will add significant time to your climb the next day. Above Lower Boyscout you will climb the Slabs to Upper Boyscout Lake. This is a particularly scenic and interesting section of hiking. The trail goes south around Lower Boyscout. Here, it is a mix of switchbacks and rock hopping. About halfway up to the Slabs the trail becomes braided and may be a little confusing. Look for this pyramid-shaped rock that you will hike in front of. Using the rock as a marker, bear to the right on the trail near it. The trail will continue up through willows and cross the stream before you walk on the Slabs. The trail is pretty obvious in the willows, but you will need to look for the cairns to follow it accurately on the Slabs. Keep heading upslope on the Slabs until they come to an end and you are once again walking on weathered material. The trail will turn south and start to head up a mix of switchbacks and short wide tilted ledges. If you wish to go to Upper Boyscout Lake, follow a small side trail that branches off to the right just beyond the last section of the Slabs. This is another popular camping area, but if you plan to summit the following day it will add an hour or more to the next day's climb. Taking the trail above Upper Boyscout Lake, you will lose the last views of the valley that you have come up. However, you now gain some spectacular close views of Mount Whitney and the Needles to its south. Stay on the trail and watch for the cairns as you move west again and towards the base of Whitney. The trail will mostly be obvious and well worn, but some areas go through rock and require a little attention. As you come up to the valley below Iceberg Lake you will encounter a cliff wall with water seeping out of it and flowing down onto the rocks below. There will be a good deal of vegetation here. The trail will split in two, with one branch losing some elevation and another gaining elevation towards the seeps. The rock is wet on and above the seeps, so the safer trail is the one that descends slightly. You don't lose much elevation and soon you will be switch-backing up an obvious trail towards Iceberg Lake. The trail to Iceberg is very easy, if you find yourself climbing up boulders you are off trail, but this will only be a real problem if you have a heavy pack. At Iceberg Lake you will come to the last water source on the trail, and the traditional high camp(12,600') for this route and the numerous technical (5.0+) routes that ascend Whitney's east face. These are impressive climbs and may be the reason that this route has its current name. Unless you have taken the MR to make these technical ascents, the route will now be up a class 2/3 gully to a notch at the top. From this notch, you proceed up the "final 400" to the summit plateau. There are cairns and a braided trail that head towards the gully which is on the north side of Whitney. Going directly up the scree and talus slope in the lower part of the gully is not the recommended route. It can be difficult and dangerous due to the tendency of that material to slide. It is, however, the preferred route in winter or when covered by snow. The summer route climbs up rocks and passes through or along the side of the small gully in the rock outcropping at the bottom of the main gully. If the climbing here becomes very steep or difficult you have gone off route. There are cairns here to guide you and it's not too difficult to get to the main gully once you see where the route goes. Next, hug the North East face of Whitney in the main gully and stay on the trail and rock that will take you to the top. This view looks down on the route from close to the top near the notch. From the notch at the top of the main gully, you will need to make the ascent up the final 400' to the summit plateau. This is regarded as the most difficult part of the climb, but it's not that hard and should not exceed class 3 if you pay attention. The easiest to access and one of the best gullies to the summit is the one that is closest to the notch. The trail continues west, but it goes to other gullies of equal or greater difficulty. This view looks down the first gully toward the level area west of the notch. It is taken about halfway up the gully. If using this first gully, the crux move of the entire climb may be getting into it. Once in it, it is a straight forward climb to the summit plateau. On top, you can head to the eastern edge and look back on the better part of the route you took to get here. Otherwise, look around and enjoy the views from the highest point in the country outside of Alaska. From this point, you have two ways to descend, the way you came up or the Whitney Main Trail. If day hiking, you might want to do the main trail to see what it is like. If you backpacked in you will need to head down the way you came up. Going down can be relaxing and is a great time to enjoy the views. With a heavy pack, you will want to allow plenty of time to descend the steep route. It may take 3 hours or more from Iceberg Lake to Whitey Portal. Enjoy it and have a safe descent. If back at the Portal Store before 7 pm, you can eat some well-earned hot food there. Pro A helmet of some sort is required. You will want something to protect your head from rocks that may be dislodged by fellow climbers. The route can be busy, especially when the day climbers arrive. Rope and any other specialized gear are not necessary for Summer. In Winter, you will need a full complement of gear from crampons and ice axes to avalanche beacons and possibly a satellite phone. It's typically a 3-day, 2-night climb in winter. Check out the Triplogs. Leave No Trace and +Add a Triplog after your hike & climb trip to support this local community. | |||||||||||||||||||||||||||||||||||||||||||||||||||||||||||||||||||||||||||||||||||||||||||||||||||||||||||||||||


